Seal the Comfort: Fixing a Leaky Window

Seal the Comfort: Fixing a Leaky Window
A leaky window can lead to discomfort and energy inefficiency in your home. In this detailed guide, we’ll explore step-by-step methods to fix a leaky window, enhancing your home’s insulation and ensuring a more comfortable living environment.
Identifying the Source of the Leak
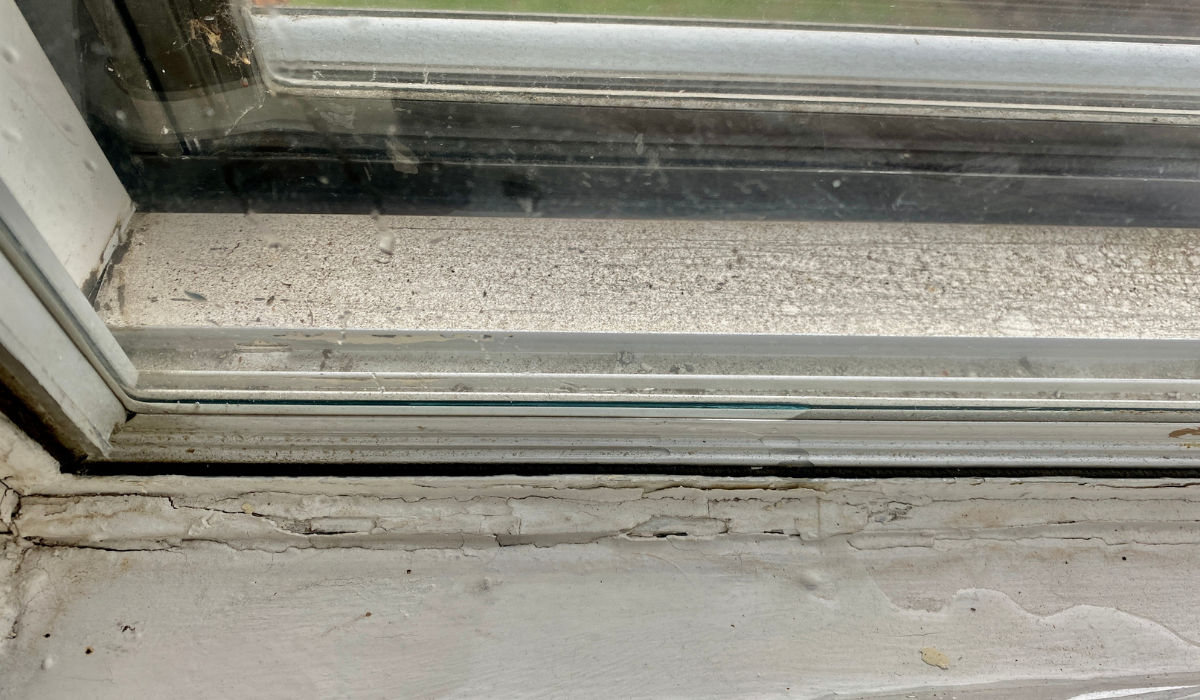
Before diving into repairs, pinpoint the source of the leak. Examine the window frame, sash, and seals for visible signs of damage. Additionally, check the surrounding areas for water stains or mold, which may indicate hidden leaks. Identifying the source is crucial for effective and targeted repairs.
Inspecting Window Caulk and Weather Stripping
Old or damaged caulk and weather stripping are common culprits for window leaks. Inspect these components for cracks, gaps, or signs of wear. If the caulk is brittle or peeling, and the weather stripping is no longer effective, it’s time for replacement. Proper sealing ensures a tight
Maintaining Your Sump Pump: Essential Tips for Efficiency

Maintaining Your Sump Pump: Essential Tips for Efficiency
When it comes to safeguarding your home against flooding, a reliable sump pump is your first line of defense. Regular maintenance is key to ensuring its optimal performance. Follow these essential tips to keep your sump pump in top shape and your basement dry.
1. Regular Inspections:
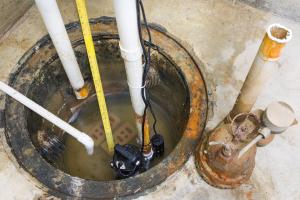
Routine inspections are crucial in identifying potential issues before they escalate. Check for any visible signs of wear and tear, and ensure the pump is sitting upright. Make sure the float switch moves freely and doesn’t get stuck.
2. Testing the Float Switch:
The float switch is a critical component that triggers the sump pump when water levels rise. Periodically test the switch by pouring water into the pit. The pump should activate and drain the water. If not, consider replacing the float switch to avoid malfunctions during heavy rainfall.
3. Cleaning the Pump and
Fix Your Drip: Repairing a Leaky Faucet

Fix Your Drip: A Comprehensive Guide to Repairing a Leaky Faucet
Leaky faucets are not only annoying but can also waste a significant amount of water over time. In this detailed guide, we’ll walk you through the steps of fixing a leaky faucet, helping you save water, reduce utility bills, and regain peace in your home.
Understanding Faucet Types: Identifying the Culprit
Before starting the repair process, it’s essential to understand the type of faucet you have. Common types include compression, ball, cartridge, and ceramic disk faucets. Each has a unique structure, and understanding the type helps in pinpointing the cause of the leak and determining the appropriate repair method.
Gathering Tools and Materials: Preparation is Key
Preparation is crucial when fixing a leaky faucet. Gather the necessary tools and materials, including an adjustable wrench, screwdrivers, pliers, plumber’s tape, and replacement parts specific to your faucet type. Having everything ready
Effortless Comfort: Installing a New Thermostat

Effortless Comfort: Installing a New Thermostat
Upgrading to a new thermostat not only enhances your home’s energy efficiency but also provides you with greater control over your indoor climate. Follow this comprehensive guide to seamlessly install a new thermostat and elevate your comfort.
**1. Choose the Right Thermostat:
Before diving into the installation process, select a thermostat that suits your needs. Whether you opt for a programmable, smart, or basic model, ensure compatibility with your heating and cooling system. This initial step sets the foundation for a successful installation.
2. Turn Off Power:
Safety is paramount when dealing with electrical components. Begin by turning off the power to your heating and cooling system at the circuit breaker. This precautionary measure ensures a safe environment for the installation process.
3. Remove the Old Thermostat:
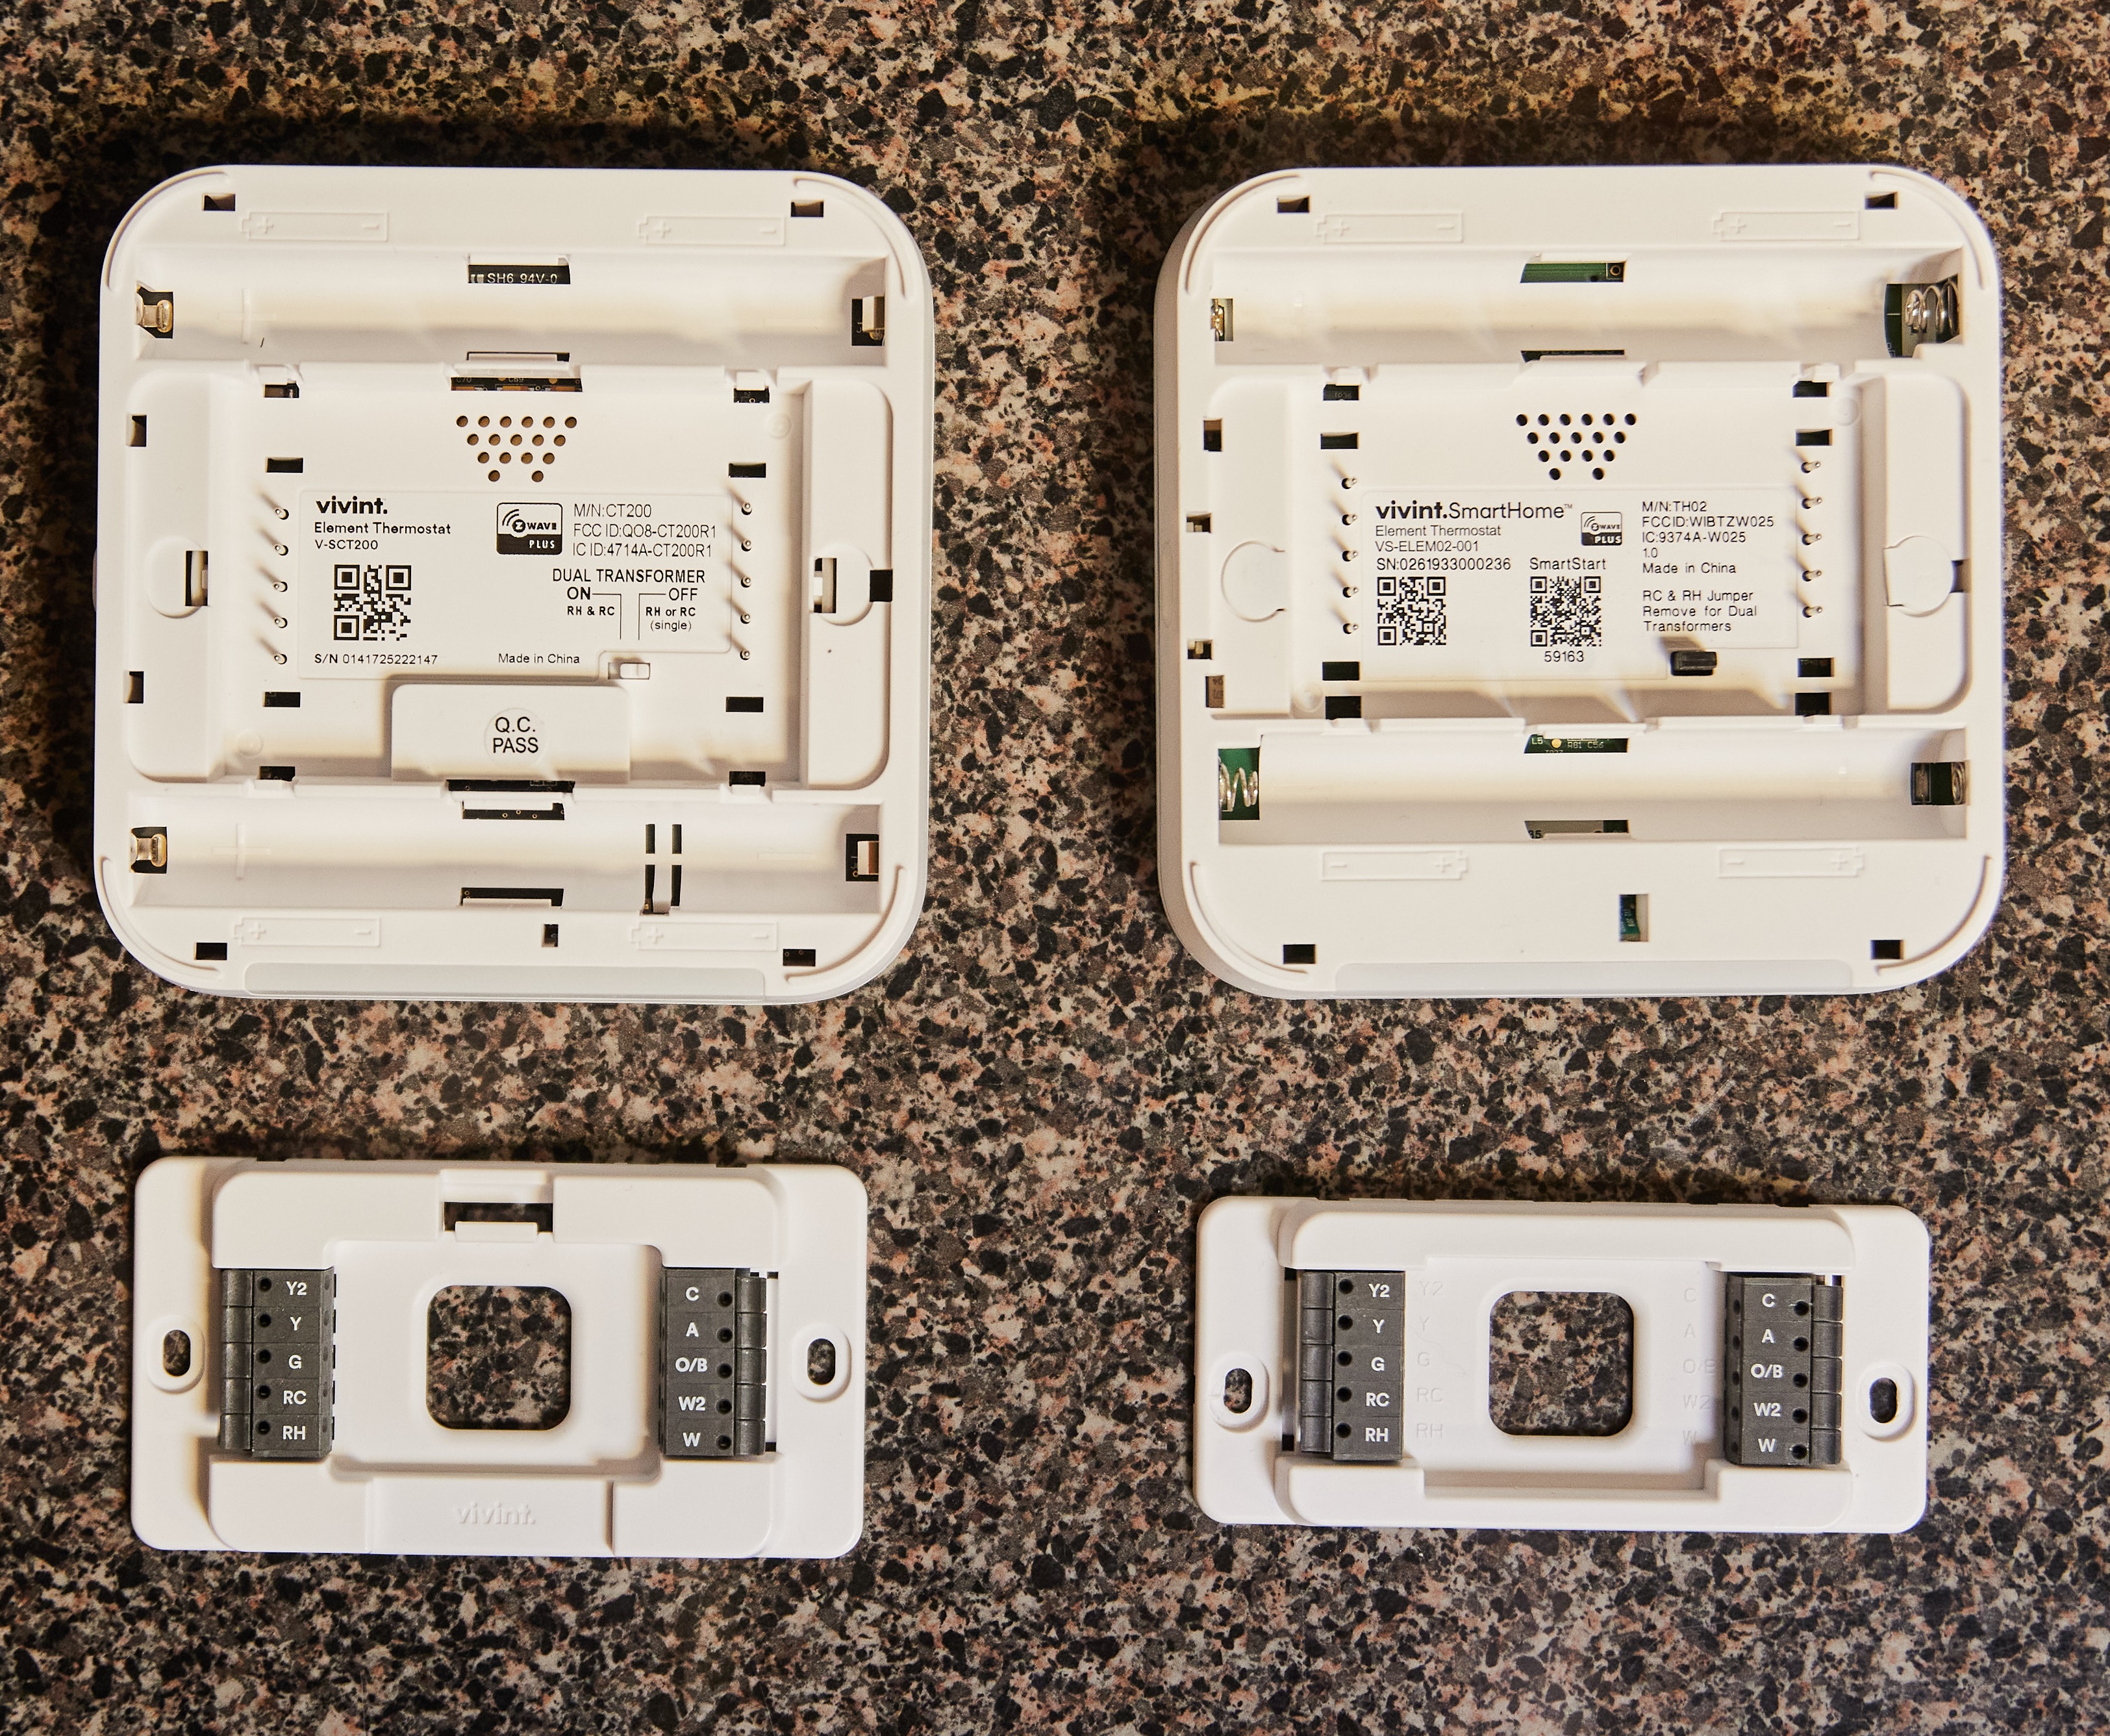
Carefully remove the cover of your existing thermostat to expose the wiring. Take note of the wire
Revitalize Your Appliance: Cleaning Tips for a Fresh Washing Machine

Introduction
Your washing machine works hard to keep your clothes clean, but it also deserves a bit of care itself. Over time, detergent residue, mold, and mineral buildup can affect its efficiency and cleanliness. In this guide, we’ll explore effective tips and techniques to clean your washing machine, ensuring it continues to provide optimal performance.
Understanding the Need for Cleaning
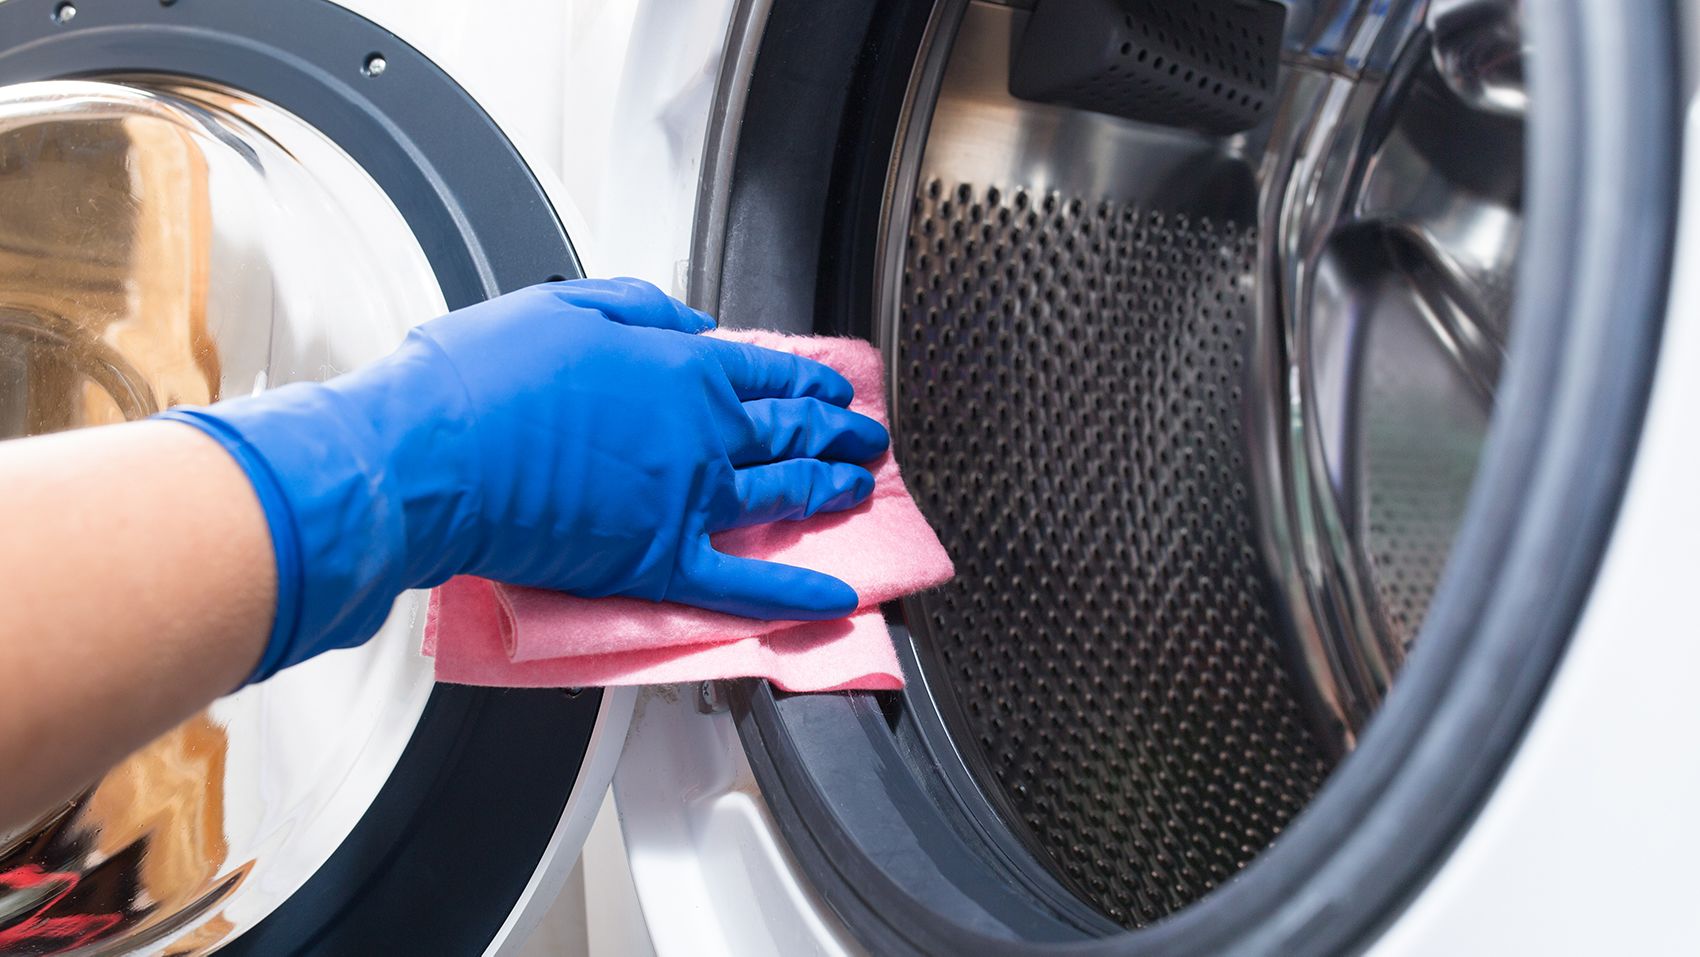
A clean washing machine not only ensures your clothes come out fresh and odor-free but also contributes to the appliance’s longevity. Over time, detergent and fabric softener residues, along with moisture, create an ideal environment for mold and bacteria to thrive. Regular cleaning prevents these issues and helps maintain the machine’s efficiency.
Cleaning the Detergent Drawer and Dispenser
The detergent drawer and dispenser are common areas for buildup, often overlooked during routine cleaning. Remove the drawer and thoroughly clean it with warm water and a mild detergent. Use an old
