Thermostat Upgrade: Effortless Home Comfort
Thermostat Upgrade: Effortless Home Comfort
Upgrading your thermostat is a simple yet impactful way to enhance your home’s comfort and energy efficiency. In this guide, we’ll walk you through the steps of replacing a thermostat, ensuring a seamless transition to a more modern and efficient temperature control system.
Assessing Your Current System
Before diving into the replacement process, assess your current thermostat and heating/cooling system. Determine the type of thermostat you have—whether it’s manual, programmable, or smart. Additionally, note the compatibility with your HVAC system, as this information will guide you in selecting a suitable replacement.
Choosing the Right Thermostat
With various thermostat options available, choosing the right one is crucial. Consider your lifestyle and preferences. Programmable thermostats allow you to set schedules for temperature adjustments, while smart thermostats offer remote control and advanced features. Ensure the selected thermostat is compatible with your HVAC system and meets your desired functionality.
Fresh Look: Transform Your Kitchen with a New Paint Job

Fresh Look: Transform Your Kitchen with a New Paint Job
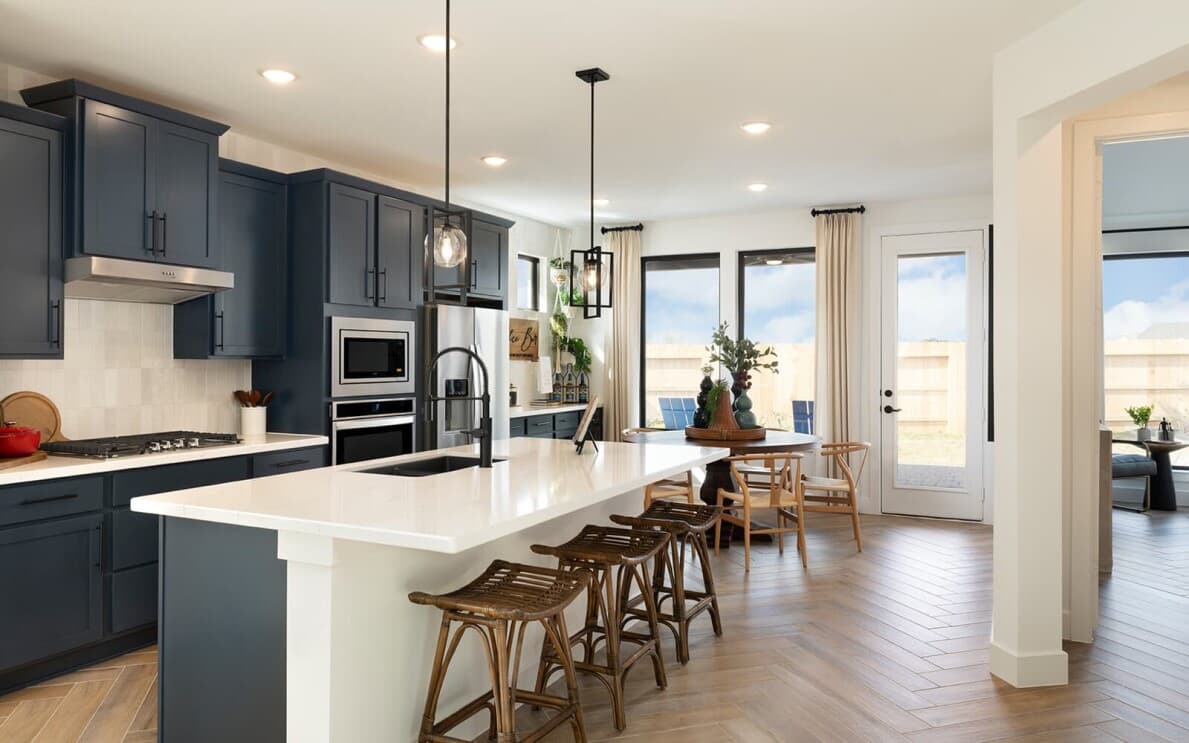
A kitchen is often the heart of a home, and giving it a fresh coat of paint can breathe new life into the space. Whether you’re aiming for a vibrant ambiance or a soothing retreat, painting your kitchen is a cost-effective way to achieve a significant transformation. Here’s a step-by-step guide to help you achieve a stunning result.
Choosing the Right Color Palette:
The first step in any successful kitchen painting project is selecting the right color palette. Consider the size of your kitchen, the amount of natural light it receives, and your personal preferences. Light and neutral tones can make a space feel larger and more open, while bold colors can add a sense of personality and warmth.
Prepping the Kitchen:
Proper preparation is crucial for a smooth and professional-looking paint job. Start by removing any items from the
Fresh Flooring: A Guide to Installing New Carpets

Fresh Flooring: A Guide to Installing New Carpets
Upgrading your home with a new carpet can breathe fresh life into your space. The process of installing a new carpet may seem daunting, but with the right guidance, you can transform your rooms with ease. Let’s delve into the steps and tips for a successful carpet installation.
1. Choosing the Right Carpet
Before you embark on the installation journey, take time to select the perfect carpet for your space. Consider factors such as material, color, and texture. Visit a reputable carpet supplier or explore online options to find a carpet that suits your aesthetic preferences and lifestyle.
2. Measuring and Planning
Accurate measurements are crucial for a seamless carpet installation. Measure the length and width of the room, accounting for any alcoves or irregularities. Add a bit extra for trimming. Plan the layout, considering the carpet’s direction and pattern alignment. This
How to Clean and Maintain Your Range Hood for Optimal Performance

Maintaining Your Range Hood for Optimal Performance
Introduction: The Importance of Range Hood Maintenance
Range hoods play a crucial role in keeping our kitchens clean and free from excess smoke, grease, and odors. To ensure their optimal performance, regular maintenance is essential.
Why Regular Cleaning Matters
Proper maintenance of your range hood is not just about aesthetics; it’s about functionality too. Over time, grease and debris can accumulate, hindering the hood’s efficiency. A clean range hood not only enhances the air quality in your kitchen but also prevents potential fire hazards.
Step-by-Step Cleaning Guide
1. Gather Your Supplies
Before you start cleaning, make sure you have all the necessary supplies. This typically includes a degreaser or a mixture of warm water and mild dish soap, a soft cloth or sponge, and a bucket.
2. Power Off and Disconnect
For safety reasons, it’s crucial to turn off the power to the
Sidewalk Renewal: Simple Steps to Repair Cracks
:max_bytes(150000):strip_icc()/SPR-is-this-the-best-way-to-repair-concrete-cracks-844642-06-7f2af0175ae94339aef1db3e0be1b210.jpg)
Sidewalk Renewal: Simple Steps to Repair Cracks
Cracks in your sidewalk not only compromise its appearance but can also pose safety hazards. Fear not! Follow these straightforward steps to fix a cracked sidewalk and restore both its functionality and curb appeal.
**1. Safety First:
Before embarking on any sidewalk repair project, prioritize safety. Wear protective gear, including gloves and safety glasses, to shield yourself from debris. Ensure a stable and safe work environment before starting the repairs.
2. Assessing the Damage:
Begin by carefully inspecting the cracks in your sidewalk. Identify the extent of the damage, noting the size and depth of each crack. Understanding the nature of the cracks will guide you in selecting the appropriate materials for the repair.
3. Cleaning the Cracks:
Clear the cracks of any dirt, debris, or loose particles. Use a wire brush or a high-pressure water jet to clean the cracks thoroughly. A
