Effortless Comfort: Installing a New Thermostat
Upgrading to a new thermostat not only enhances your home’s energy efficiency but also provides you with greater control over your indoor climate. Follow this comprehensive guide to seamlessly install a new thermostat and elevate your comfort.
**1. Choose the Right Thermostat:
Before diving into the installation process, select a thermostat that suits your needs. Whether you opt for a programmable, smart, or basic model, ensure compatibility with your heating and cooling system. This initial step sets the foundation for a successful installation.
2. Turn Off Power:
Safety is paramount when dealing with electrical components. Begin by turning off the power to your heating and cooling system at the circuit breaker. This precautionary measure ensures a safe environment for the installation process.
3. Remove the Old Thermostat:
Carefully remove the cover of your existing thermostat to expose the wiring. Take note of the wire connections and their corresponding terminals. Label the wires with the provided stickers or create your own system to simplify the installation of the new thermostat.
4. Document Wiring Details:
Documenting the wiring details is crucial for a smooth installation. Take clear pictures or make notes of the wire connections before disconnecting them. This documentation serves as a reference when connecting the wires to the new thermostat.
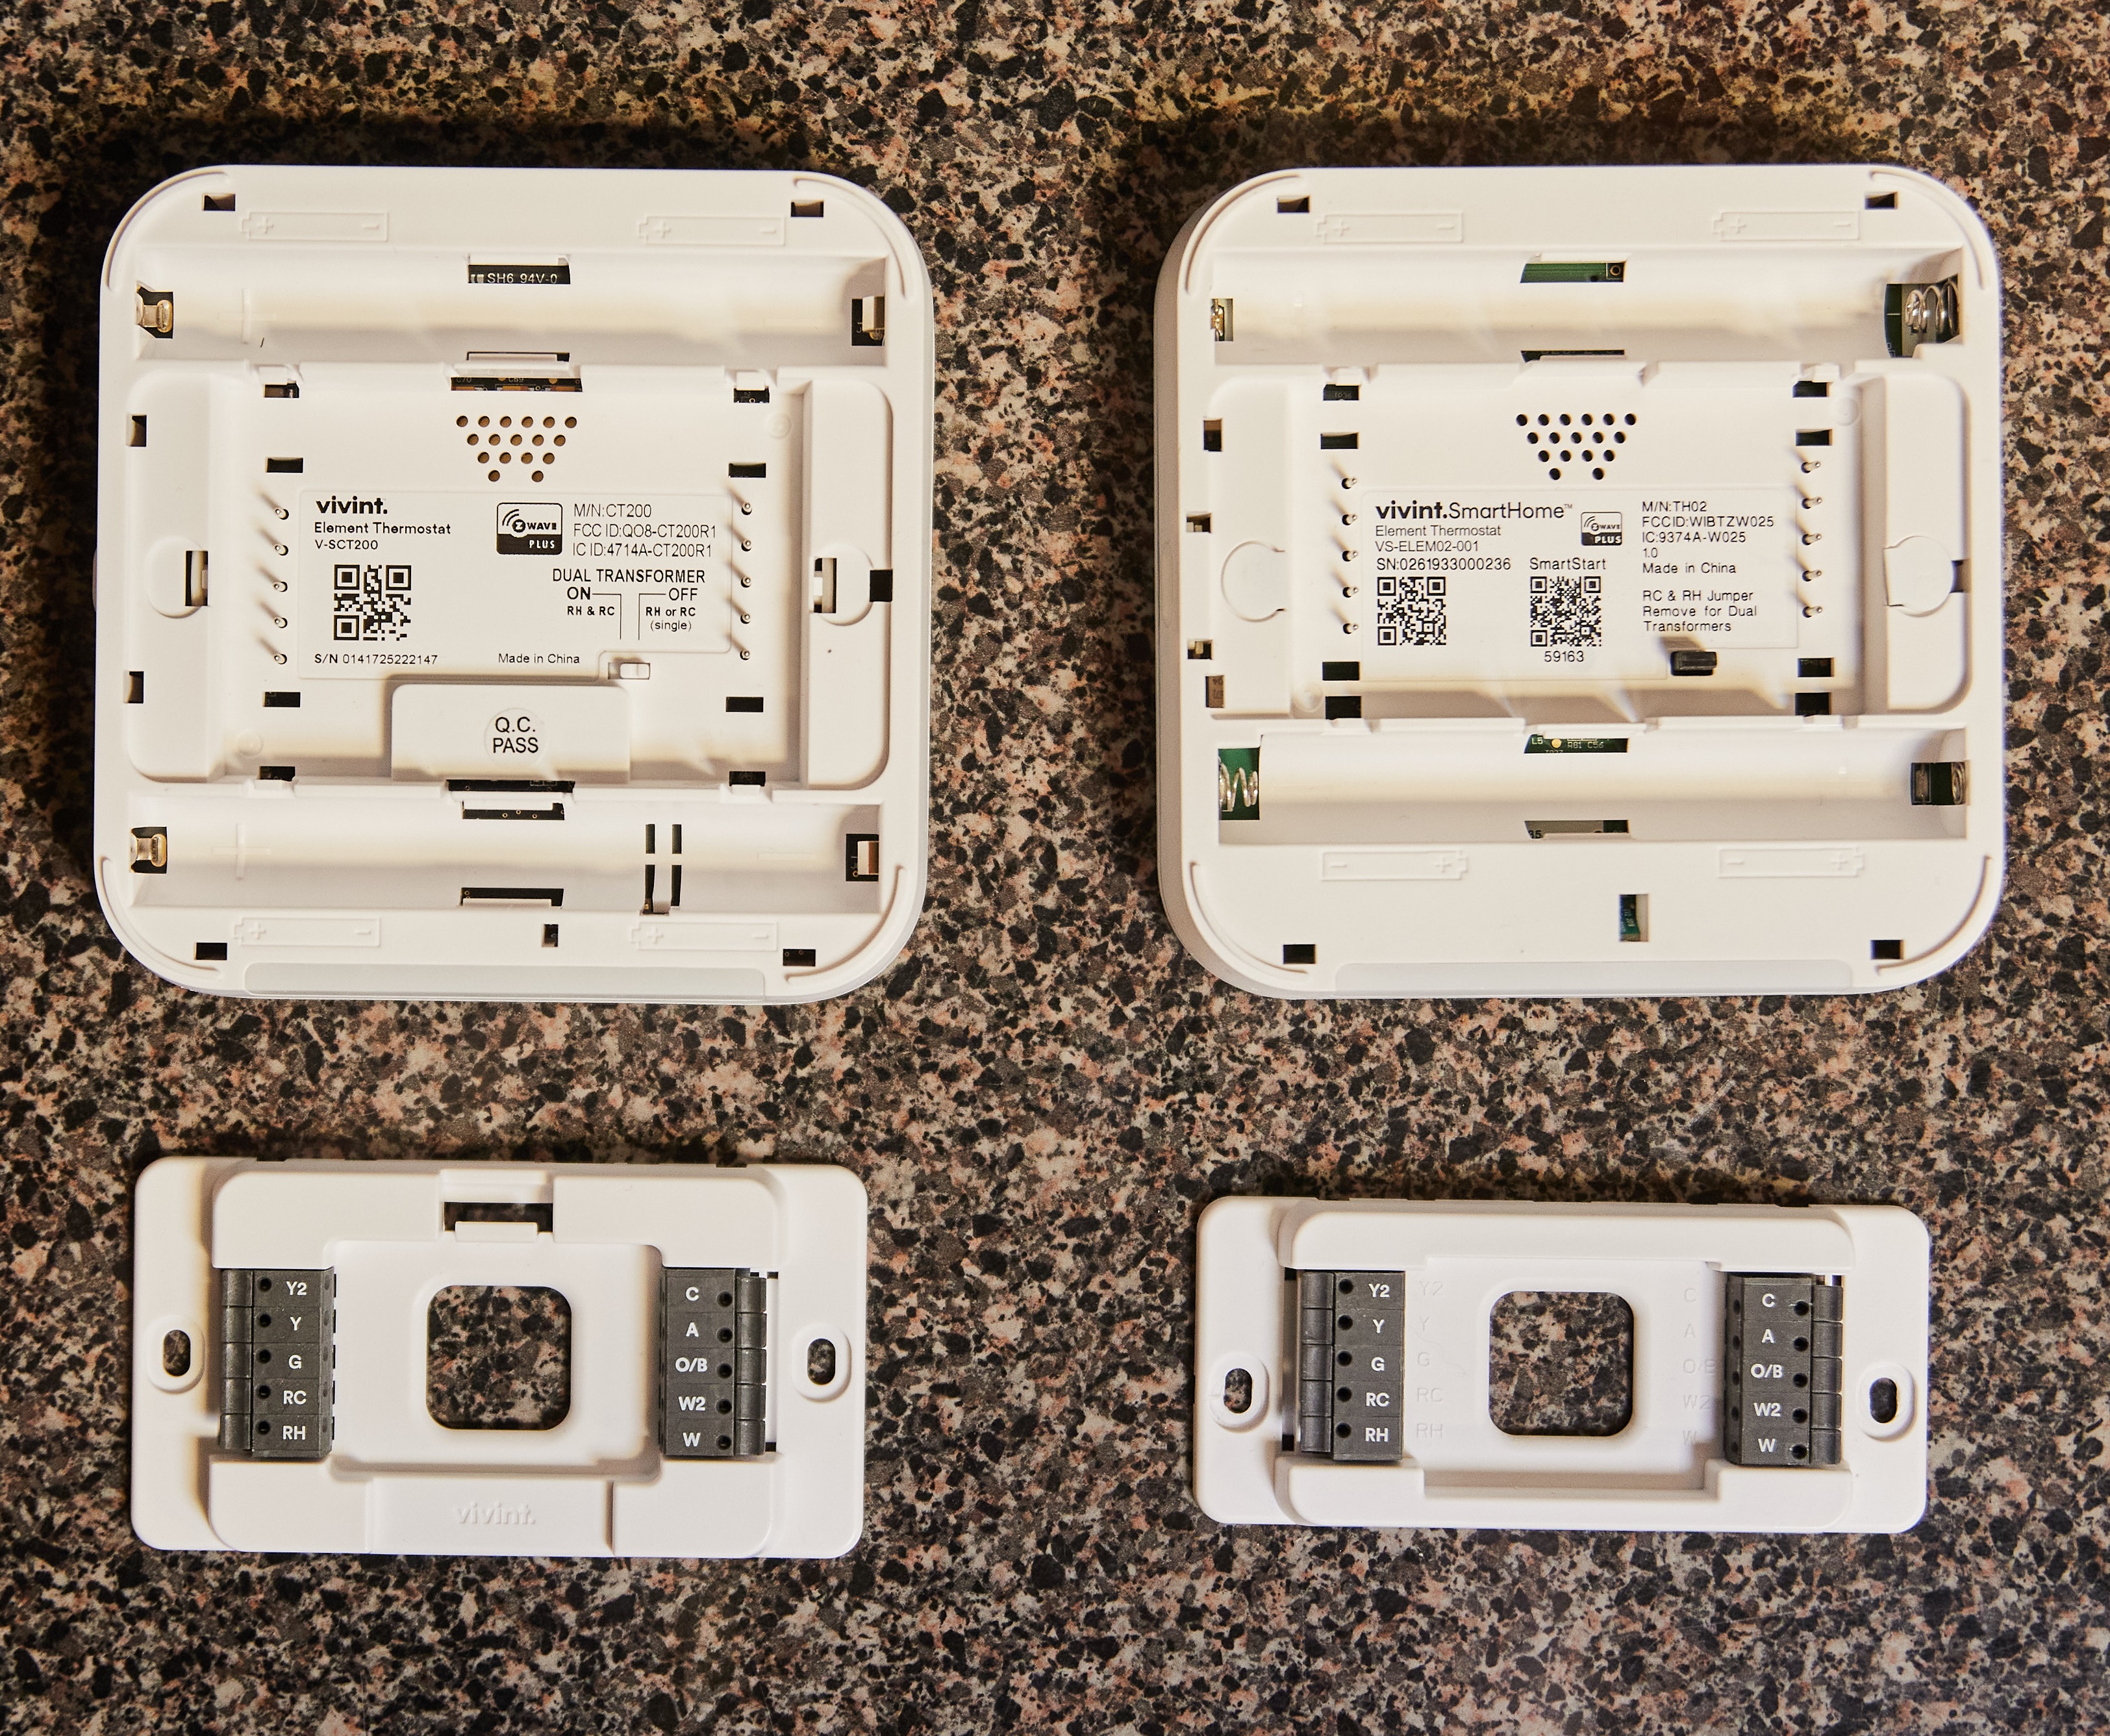
5. Install the New Mounting Plate:
Place the new thermostat’s mounting plate on the wall and secure it in place with the provided screws. Ensure that it is level and positioned correctly. The mounting plate serves as the foundation for attaching the thermostat.
6. Connect the Wires:
Referencing your documentation, connect the wires to the corresponding terminals on the new thermostat. Most thermostats use color-coded terminals, making this step straightforward. Double-check the connections to avoid any issues during the system’s operation.
7. Attach the New Thermostat:
Carefully attach the new thermostat to the mounting plate, ensuring it aligns with the screw holes. Secure it in place using the provided screws. Be cautious not to overtighten the screws, as it may damage the thermostat or the mounting plate.
8. Power Up and Program:
Turn the power back on at the circuit breaker to activate your heating and cooling system. Follow the manufacturer’s instructions to program your new thermostat according to your preferences. Adjust settings such as temperature, schedule, and any additional features your thermostat may offer.
9. Test the System:
After programming, test the system to ensure it responds correctly. Check that the heating and cooling functions are working as expected. If your thermostat has smart features, download the corresponding app and synchronize it with your thermostat for remote control.
10. Troubleshooting and Professional Assistance:
If you encounter any issues during the installation or experience problems with your heating and cooling system after installation, consult the manufacturer’s troubleshooting guide. If the issues persist, consider seeking professional assistance to ensure proper functionality.
Effortless Comfort Achieved!
By following these steps, you’ve successfully installed a new thermostat, bringing enhanced comfort and control to your home. For more home improvement tips and inspiration, visit DesigningTemptation.com. Their expert advice covers a range of topics to help you create a comfortable and energy-efficient living space.

