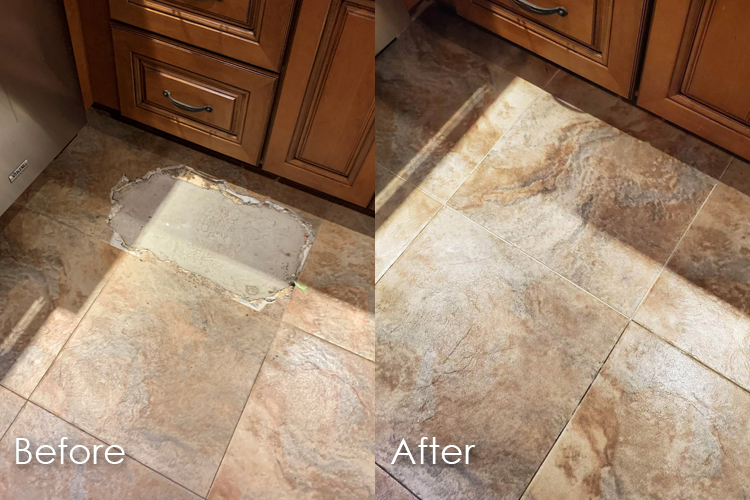
Tile Troubles? Easy Steps to Fix a Broken Tile

Tile Troubles? Easy Steps to Fix a Broken Tile
Tiles are a popular and durable flooring choice, but accidents happen. Don’t worry; fixing a broken tile is a manageable DIY project. Follow these steps for a seamless repair that restores the beauty of your tiled surfaces.
Assessing the Damage:
Begin by assessing the extent of the damage. Determine whether the tile is chipped, cracked, or completely shattered. This evaluation helps you understand the repair needed and whether the tile can be fixed or requires replacement.
Gathering Your Materials:
Before diving into the repair, gather the necessary materials. You’ll need replacement tiles (if the damaged tile is irreparable), a hammer, chisel, putty knife, adhesive, grout, a sponge, and a cloth. Ensure the replacement tile matches the existing ones for a cohesive look.
Removing the Broken Tile:
Start by carefully removing the broken tile. Use a hammer and chisel to break the
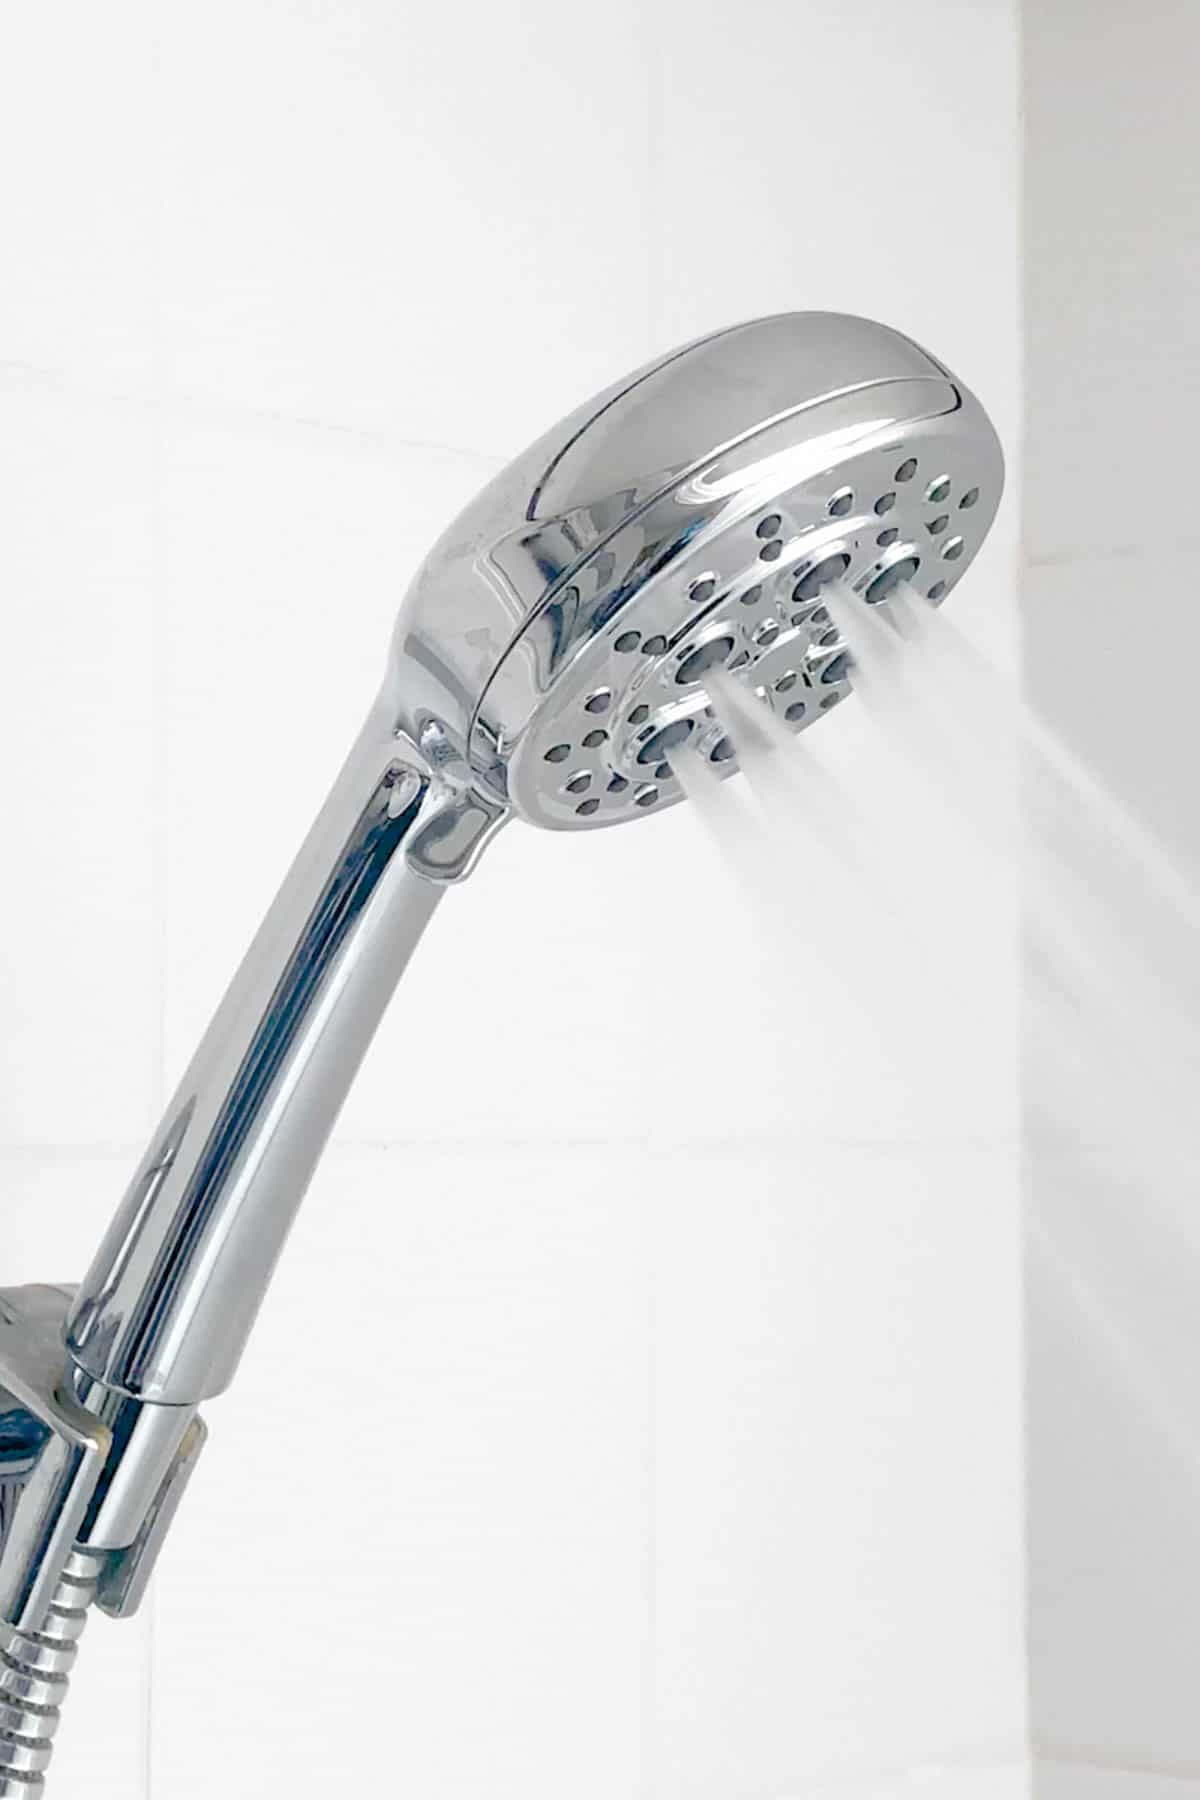
Refresh Your Shower: Easy Steps to Replace a Showerhead

Refresh Your Shower: Easy Steps to Replace a Showerhead
Updating your showerhead can be a quick and rewarding DIY project, enhancing your daily shower experience. Follow these easy steps to replace a showerhead and bring a fresh, revitalized feel to your bathroom.
Choosing the Right Showerhead:
Before diving into the replacement process, consider the type of showerhead you want. Options range from fixed, handheld, rain shower, to massage showerheads. Choose one that suits your preferences and bathroom design. Look for water-saving models if you’re conscious of water usage.
Gathering Necessary Tools:
Ensure you have the necessary tools for the job. Most showerhead replacements require an adjustable wrench and plumber’s tape (Teflon tape). Having these tools on hand will make the process smoother and more efficient.
Turning Off the Water Supply:
Before removing the existing showerhead, turn off the water supply to the shower. This is typically done by closing the
Fresh Look: Transform Your Kitchen with a New Paint Job

Fresh Look: Transform Your Kitchen with a New Paint Job
A kitchen is often the heart of a home, and giving it a fresh coat of paint can breathe new life into the space. Whether you’re aiming for a vibrant ambiance or a soothing retreat, painting your kitchen is a cost-effective way to achieve a significant transformation. Here’s a step-by-step guide to help you achieve a stunning result.
Choosing the Right Color Palette:
The first step in any successful kitchen painting project is selecting the right color palette. Consider the size of your kitchen, the amount of natural light it receives, and your personal preferences. Light and neutral tones can make a space feel larger and more open, while bold colors can add a sense of personality and warmth.
Prepping the Kitchen:
Proper preparation is crucial for a smooth and professional-looking paint job. Start by removing any items from the
Freshen Up: Simple Steps to Clean a Garbage Disposal
:max_bytes(150000):strip_icc()/cleaning-a-garbage-disposal-2718863-step-06-eefb70a116b741eb82beec94e062c915.jpg)
Freshen Up: Simple Steps to Clean a Garbage Disposal
Garbage disposals play a crucial role in keeping our kitchens clean, but they can accumulate unpleasant odors over time. Follow these easy steps to clean and freshen up your garbage disposal, ensuring a more hygienic and pleasant kitchen environment.
Assessing the Situation:
Before diving into cleaning, assess the condition of your garbage disposal. Identify any lingering odors, visible debris, or unusual noises. This initial assessment helps tailor the cleaning approach to address specific issues.
Gathering Supplies:
To clean a garbage disposal, you’ll need simple household items. Gather white vinegar, baking soda, ice cubes, citrus peels (such as lemon or orange), a small brush or an old toothbrush, and a cup of rock salt. These items work together to break down residue, eliminate odors, and sharpen the disposal blades.
Flushing with Ice Cubes:
Begin the cleaning process by tossing a handful of
Hot Tips: Essential Maintenance for Your Water Heater

Hot Tips: Essential Maintenance for Your Water Heater
Hot water is a daily essential, and your water heater plays a vital role in delivering it consistently. To ensure the longevity and efficiency of your water heater, regular maintenance is key. Follow these essential tips to keep your water heater in top condition.
Checking for Leaks:
One of the first things to regularly inspect is for any signs of leaks around your water heater. Check the base and connections for water puddles, as leaks can lead to damage and inefficiency. If you notice any leaks, address them promptly to prevent further issues.
Flushing the Tank:
Over time, sediment can accumulate at the bottom of your water heater tank, affecting its efficiency. Flushing the tank annually helps remove sediment and maintain optimal performance. Attach a hose to the drain valve, drain the tank, and flush out any sediment buildup.
Inspecting the Pressure
