Refresh Your Shower: Easy Steps to Replace a Showerhead
Updating your showerhead can be a quick and rewarding DIY project, enhancing your daily shower experience. Follow these easy steps to replace a showerhead and bring a fresh, revitalized feel to your bathroom.
Choosing the Right Showerhead:
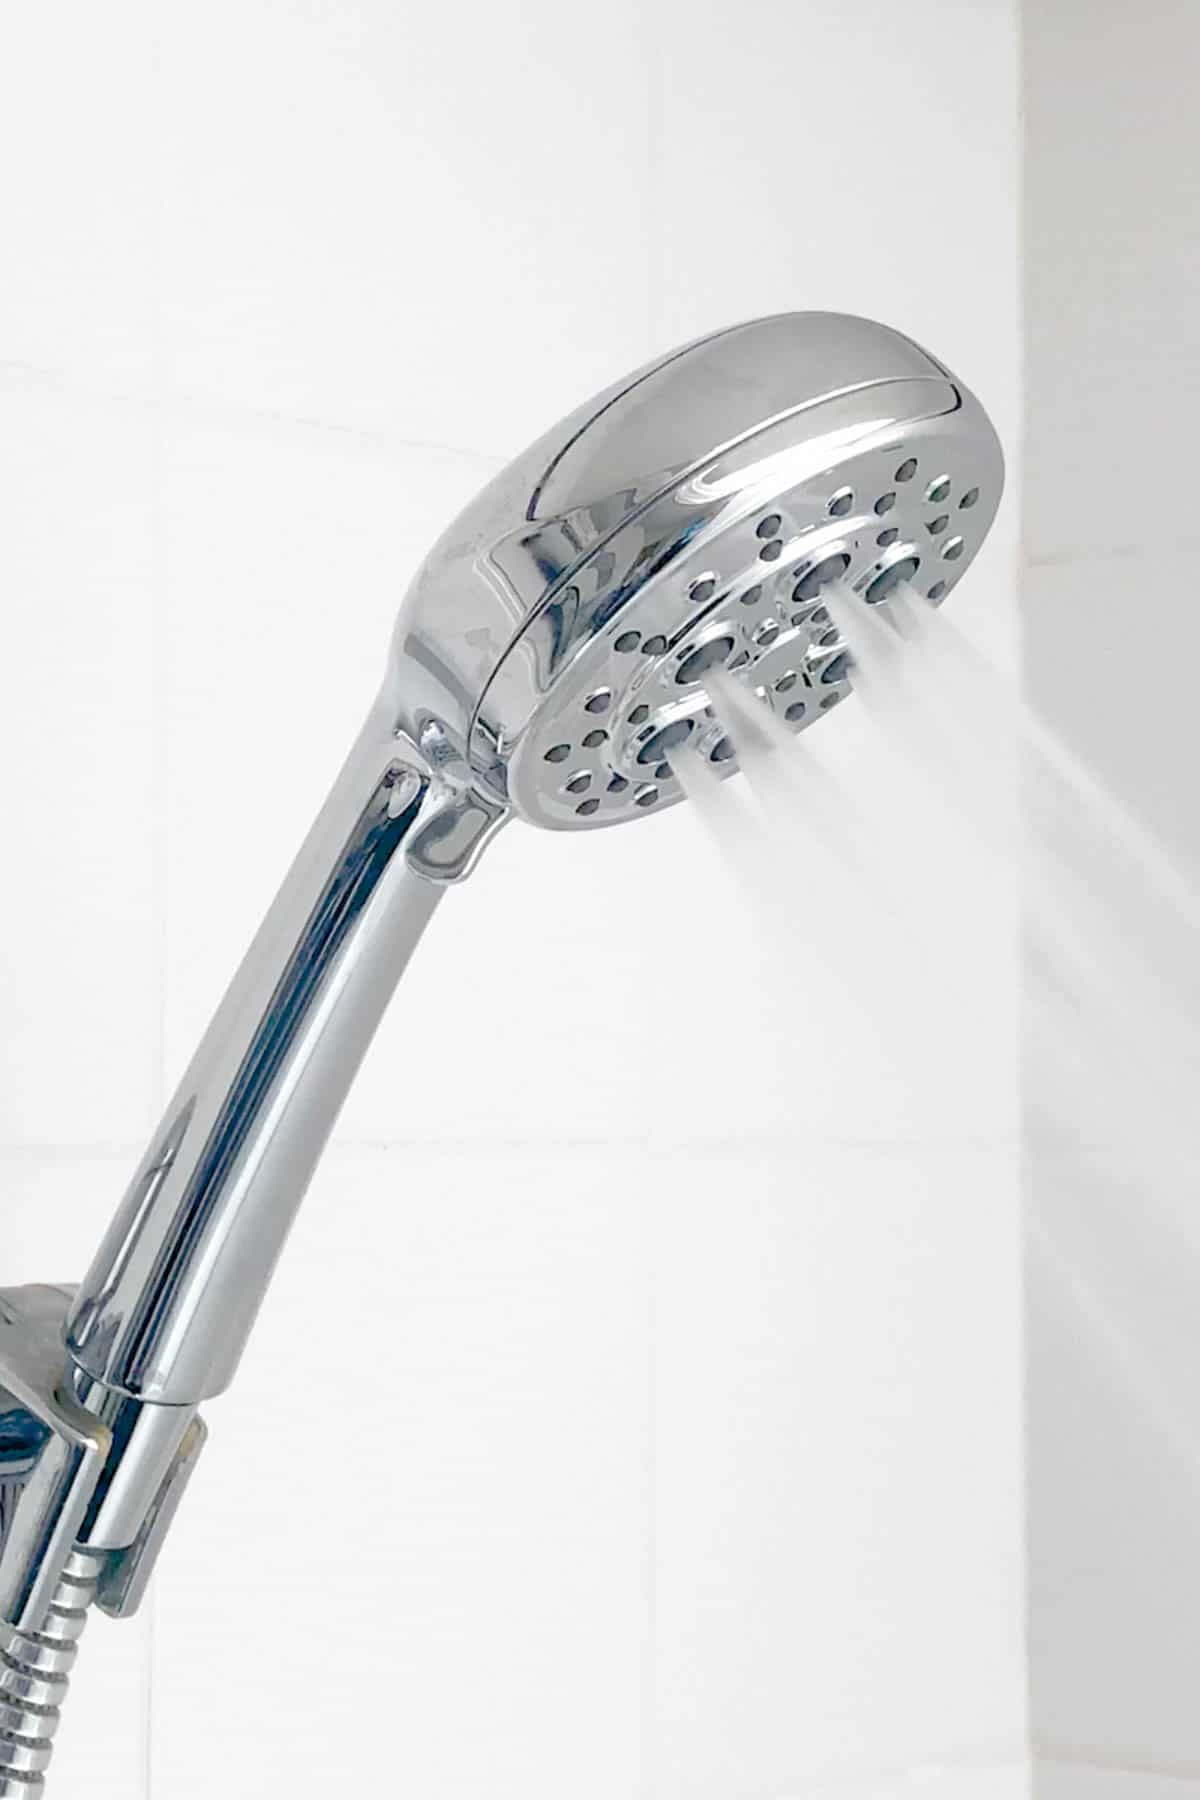
Before diving into the replacement process, consider the type of showerhead you want. Options range from fixed, handheld, rain shower, to massage showerheads. Choose one that suits your preferences and bathroom design. Look for water-saving models if you’re conscious of water usage.
Gathering Necessary Tools:
Ensure you have the necessary tools for the job. Most showerhead replacements require an adjustable wrench and plumber’s tape (Teflon tape). Having these tools on hand will make the process smoother and more efficient.
Turning Off the Water Supply:
Before removing the existing showerhead, turn off the water supply to the shower. This is typically done by closing the water shut-off valve located near the shower or, in some cases, shutting off the main water supply to the entire house.
Removing the Existing Showerhead:
Using an adjustable wrench, carefully unscrew the existing showerhead. Turn it counterclockwise until it comes off. If the showerhead is stuck, use a cloth to protect the finish and provide extra grip. Be cautious not to damage the shower arm during this process.
Cleaning the Shower Arm Threads:
Once the old showerhead is removed, clean the threads on the shower arm. Remove any old plumber’s tape or debris to ensure a smooth and tight seal for the new showerhead. A small wire brush or an old toothbrush can be helpful for this task.
Applying Plumber’s Tape:
To create a watertight seal, wrap plumber’s tape (Teflon tape) around the threads of the shower arm in a clockwise direction. This tape helps prevent leaks and ensures a secure connection between the shower arm and the new showerhead.
Installing the New Showerhead:
Screw on the new showerhead by turning it clockwise onto the shower arm. Hand-tighten it first, and then use the adjustable wrench to give it a final snug turn. Be careful not to overtighten, as this can damage the shower arm or the new showerhead.
Checking for Leaks:
Once the new showerhead is securely in place, turn the water supply back on. Check for any leaks around the connection points. If you notice any leaks, tighten the connections slightly with the adjustable wrench until they are snug.
Adjusting Spray Settings:
Many modern showerheads come with adjustable spray settings. Take a moment to explore and adjust the spray pattern and intensity according to your preference. This step ensures a personalized and comfortable shower experience.
Cleaning and Maintaining:
Regularly clean your new showerhead to prevent mineral buildup. Soak it in a solution of equal parts water and vinegar to dissolve any deposits. Use an old toothbrush to gently scrub away any remaining residue. This maintenance routine will keep your showerhead performing optimally.
Designing Temptation: Elevate Your Home Projects:
For more home improvement ideas and expert advice, visit DesigningTemptation.com. Explore their comprehensive resources covering a range of topics to help you tackle various projects and maintain a visually appealing home.
Conclusion:
Replacing a showerhead is a simple yet effective way to upgrade your bathroom. With the right tools and a straightforward process, you can enjoy a refreshed shower experience in no time. Whether you opt for a rain shower, a massage showerhead, or a water-saving model, the replacement process remains accessible for DIY enthusiasts.


