
5 Reasons to Choose a Professional Excavation Contractor
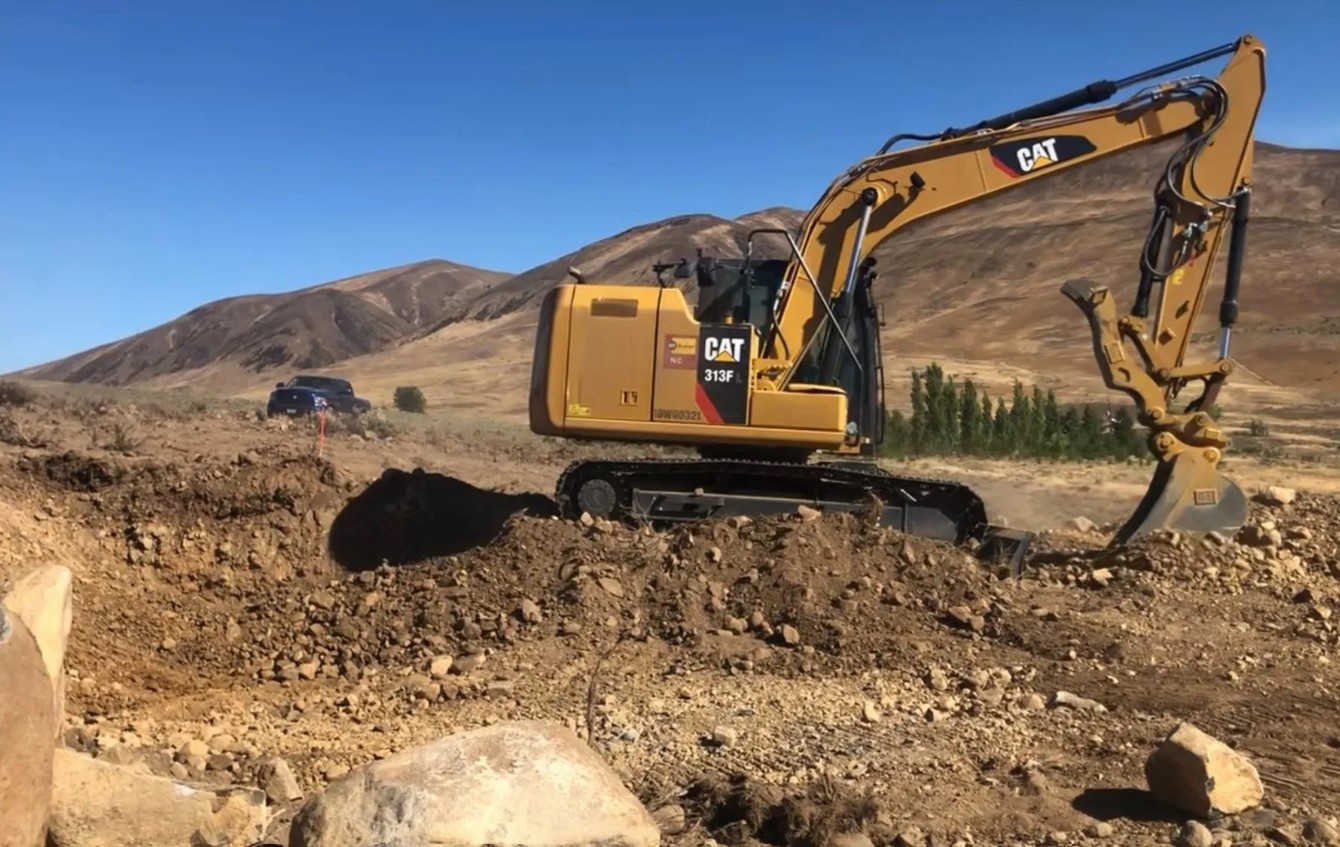
Whether you’re breaking ground for a new home, laying the foundation for a commercial space, or embarking on a landscaping endeavor, the success of your project hinges on the precision and expertise applied to the excavation process. The intricacy of excavating soil, managing drainage, and preparing the site requires a level of finesse that only seasoned professionals can bring to the table. As the initial phase sets the tone for what follows, the decision to enlist the services of professional excavation contractors becomes not just a practical consideration but a strategic move aimed at ensuring the stability and success of your entire project.
Specialized Knowledge and Expertise
Professional excavation contractors in Yakima, WA, bring a wealth of specialized knowledge and expertise to the table. Their experience with various soil types, geological conditions, and local regulations ensures that the excavation is done with precision and compliance. When you choose …
The Future of Property Rentals: Trends and Predictions for Savvy Landlords
The landscape of property rentals is undergoing a transformative shift, shaped by evolving market dynamics, technological advancements, and changing tenant preferences. As we look towards the future, landlords must adapt to these changes to stay competitive and profitable. This article delves into key trends and predictions that savvy landlords should know, guiding them through this evolving terrain.
- Technological Integration in Property Management One of the most significant trends is increasing technology integration in property management. Digital platforms for rent collection, maintenance requests, and tenant communication are becoming the norm. These technologies not only streamline operations but also enhance the tenant experience. We can expect future advancements, such as AI-driven property management systems and IoT-enabled smart homes, to offer unprecedented efficiency and convenience.
- The Rise of Eco-Friendly Properties Environmental concerns drive the demand for eco-friendly properties. Tenants increasingly seek rentals offering energy-efficient appliances, sustainable materials, and green spaces. For landlords, investing
Refresh Your Fridge: Cleaning Refrigerator Coils for Efficiency

Refresh Your Fridge: A Guide to Cleaning Refrigerator Coils for Efficiency
Maintaining the efficiency of your refrigerator goes beyond organizing the contents or adjusting the temperature settings. One often overlooked yet crucial aspect is cleaning the refrigerator coils. In this comprehensive guide, we’ll walk you through the process of cleaning refrigerator coils, helping you ensure optimal performance and energy efficiency.
Understanding the Importance: Why Clean Refrigerator Coils Matter
Refrigerator coils, located either at the back or underneath the appliance, play a vital role in heat exchange, allowing the refrigerator to cool effectively. Over time, these coils can accumulate dust, dirt, and debris, hindering the heat exchange process. Cleaning refrigerator coils is essential for ensuring the appliance works efficiently, reducing energy consumption, and prolonging its lifespan.
Gathering Necessary Tools: Preparation for Cleaning
Before delving into the cleaning process, gather the necessary tools: a vacuum cleaner with a brush attachment, a coil
Revitalize Your Space: Expert Guide to Repairing Cracked Walls

Revitalize Your Space: Expert Guide to Repairing Cracked Walls
Cracked walls can be a common issue in homes, often resulting from various factors such as settling, humidity, or structural problems. In this comprehensive guide, we’ll walk you through the steps to repair cracked walls and revitalize your living space.
Understanding the Causes of Cracked Walls
Before diving into the repair process, it’s essential to understand the underlying causes of cracked walls. Structural issues, foundation settling, or even seasonal changes can contribute to wall cracks. Identifying the root cause will guide you in choosing the most effective repair approach.
Assessing the Severity of the Cracks
Not all wall cracks are created equal. Some may be superficial, while others can indicate more significant structural problems. Begin by assessing the severity of the cracks. Measure their width, length, and observe any patterns. This evaluation will help determine the appropriate repair methods.
Gathering the
Transform Your Space: Step-by-Step Guide to Installing a New Floor

Introduction: Redefining Your Living Space with a New Floor
Installing a new floor is a transformative home improvement project that can revitalize your living space. Whether you’re replacing worn-out flooring or seeking a fresh aesthetic, this step-by-step guide will walk you through the process, allowing you to achieve a stunning result.
Assessment and Planning: The Foundation for Success
Before diving into the installation, assess your space and plan accordingly. Consider factors such as the type of flooring material, the layout of the room, and any necessary preparations. Taking the time to plan ensures a smooth installation process and a finished product that aligns with your vision.
Choosing the Right Flooring Material: Aesthetic and Practical Considerations
The success of your flooring project hinges on choosing the right material. Options range from hardwood and laminate to tile and vinyl. Consider both aesthetic preferences and practicality. Factors such as durability, maintenance, and the