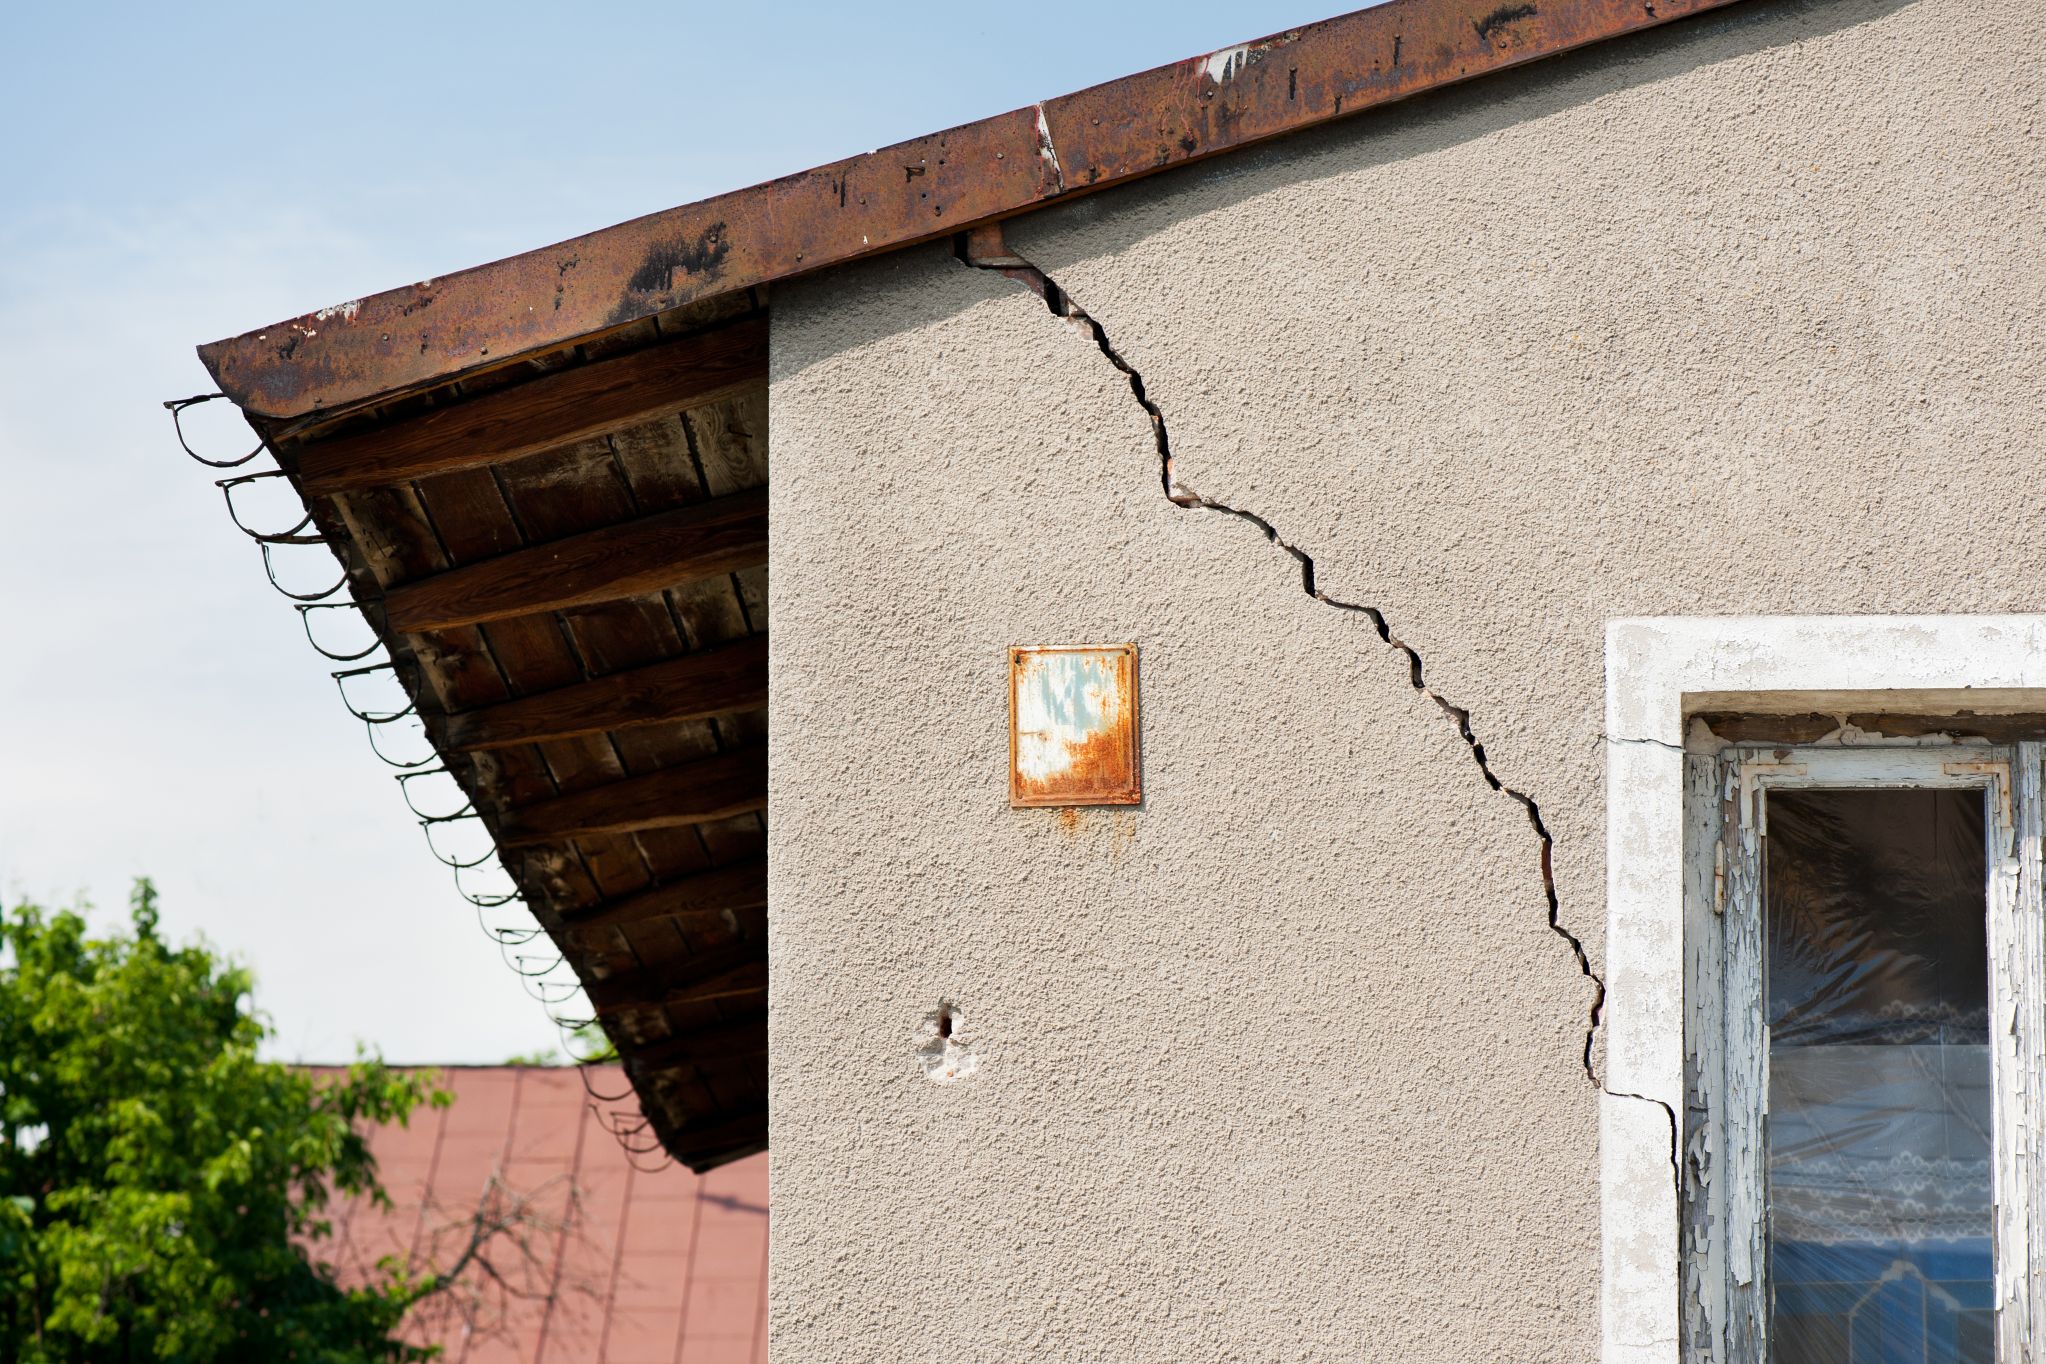
Revitalize Your Space: Expert Guide to Repairing Cracked Walls
Cracked walls can be a common issue in homes, often resulting from various factors such as settling, humidity, or structural problems. In this comprehensive guide, we’ll walk you through the steps to repair cracked walls and revitalize your living space.
Understanding the Causes of Cracked Walls
Before diving into the repair process, it’s essential to understand the underlying causes of cracked walls. Structural issues, foundation settling, or even seasonal changes can contribute to wall cracks. Identifying the root cause will guide you in choosing the most effective repair approach.
Assessing the Severity of the Cracks
Not all wall cracks are created equal. Some may be superficial, while others can indicate more significant structural problems. Begin by assessing the severity of the cracks. Measure their width, length, and observe any patterns. This evaluation will help determine the appropriate repair methods.
Gathering the Right Tools and Materials
To successfully repair cracked walls, it’s crucial to have the right tools and materials on hand. Depending on the severity of the cracks, you may need joint compound, mesh tape, putty knife, sandpaper, and paint. Ensure you’re well-equipped before starting the repair process.
Preparing the Cracked Surface
Before applying any patches, prepare the cracked surface by cleaning it thoroughly. Remove any loose debris, dust, or old paint. A clean surface ensures better adhesion of the repair materials and enhances the longevity of the fix.
Filling and Patching the Cracks
Use a high-quality joint compound to fill and patch the cracks. Apply the compound with a putty knife, ensuring it’s evenly distributed. For larger or deeper cracks, consider using mesh tape for added reinforcement. Smooth out the surface, and let the compound dry completely before proceeding to the next steps.
Sanding and Smoothing the Repaired Area
Once the joint compound is fully dry, sand the repaired area to create a smooth and even surface. Pay attention to blending the patched section with the surrounding wall. The goal is to achieve a seamless finish that disguises the repaired cracks.
Priming and Painting
After smoothing out the repaired area, apply a primer to ensure uniform absorption of paint. Once the primer is dry, paint the entire wall, ensuring a consistent color match. This step not only conceals the repairs but also gives your walls a refreshed and cohesive look.
Taking Preventive Measures
To prevent future wall cracks, address any underlying issues contributing to the problem. Ensure proper drainage around your home, address foundation issues promptly, and monitor changes in humidity levels. Taking preventive measures can save you from dealing with recurring cracks in the future.
Seeking Professional Help
In some cases, wall cracks may indicate more severe structural issues that require professional intervention. If you’re unsure about the extent of the damage or lack the necessary expertise, it’s wise to consult with a professional contractor or structural engineer.
Repairing Cracked Walls: A Final Note
By following these steps and understanding the causes of wall cracks, you can effectively repair and revitalize your living space. Remember to address the root cause, use the right tools, and take preventive measures to ensure a lasting solution. For more detailed guidance on repairing cracked walls, visit DesigningTemptation.com for expert tips and insights.


