Hot Tips: Essential Maintenance for Your Water Heater

Hot Tips: Essential Maintenance for Your Water Heater
Hot water is a daily essential, and your water heater plays a vital role in delivering it consistently. To ensure the longevity and efficiency of your water heater, regular maintenance is key. Follow these essential tips to keep your water heater in top condition.
Checking for Leaks:
One of the first things to regularly inspect is for any signs of leaks around your water heater. Check the base and connections for water puddles, as leaks can lead to damage and inefficiency. If you notice any leaks, address them promptly to prevent further issues.
Flushing the Tank:
Over time, sediment can accumulate at the bottom of your water heater tank, affecting its efficiency. Flushing the tank annually helps remove sediment and maintain optimal performance. Attach a hose to the drain valve, drain the tank, and flush out any sediment buildup.
Inspecting the Pressure
Smart Comfort: Installing Your New Thermostat

Selecting the Right Thermostat: Understanding Your Options
Choosing a new thermostat involves considering various options available in the market. From traditional manual thermostats to smart, programmable models, each type offers unique features. Evaluate your heating and cooling needs to determine the most suitable thermostat for your home. Smart thermostats, for instance, allow for remote control and energy-efficient programming, providing a modern and convenient solution.
Gathering Necessary Tools: Preparation for Installation
Before diving into the installation process, gather the tools and materials required. Basic tools like a screwdriver, drill, and pliers are often needed. Check the thermostat’s installation manual for specific requirements. Having the necessary tools on hand ensures a smooth installation process without interruptions.
Turning Off Power: Ensuring Safety During Installation
For safety reasons, it’s crucial to turn off the power to your heating and cooling system before beginning the installation. Locate the circuit breaker or switch that controls the
Gate Revival: Essential Steps to Fix a Broken Gate

Introduction: Restoring Functionality to Your Gate
A broken gate not only compromises the security of your property but also diminishes its overall aesthetic appeal. In this comprehensive guide, we’ll walk you through the essential steps to fix a broken gate, whether it’s a sagging hinge, a damaged latch, or other issues affecting its functionality.
Assessment of Gate Damage
Identifying the Issues
Begin by conducting a thorough assessment of your broken gate. Identify the specific issues contributing to its malfunction. This can include examining hinges, latches, panels, or any other components that may be damaged. A clear understanding of the problems will guide your repair efforts.
Checking for Structural Damage
Inspect the gate for structural damage, such as bent or broken bars, rails, or support posts. Structural issues require careful attention, as they impact the overall stability of the gate. Addressing these concerns is crucial for restoring both functionality and security.
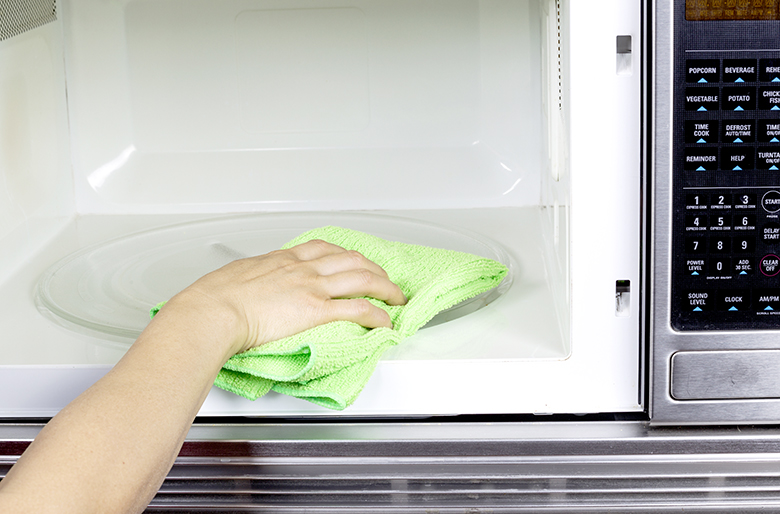
Effortless Microwave Cleaning: Quick Tips for a Sparkling Appliance

Effortless Microwave Cleaning: Quick Tips for a Sparkling Appliance
The microwave is a kitchen workhorse, but over time, spills and splatters can turn it into a sticky mess. Fortunately, cleaning a microwave can be a simple task with the right approach and a few clever tricks. Let’s explore quick and effective tips to restore your microwave to a sparkling, sanitary state.
1. Preparing for Cleaning
Before diving into the cleaning process, take a moment to prepare. Unplug the microwave to ensure safety, and remove any loose crumbs or food particles. Having a clean slate makes it easier to tackle stubborn stains and odors during the cleaning process.
2. Steam Cleaning with Vinegar
One of the most effective methods for cleaning a microwave involves using the power of steam. In a microwave-safe bowl, combine equal parts water and white vinegar. Place the bowl in the microwave and heat it on high
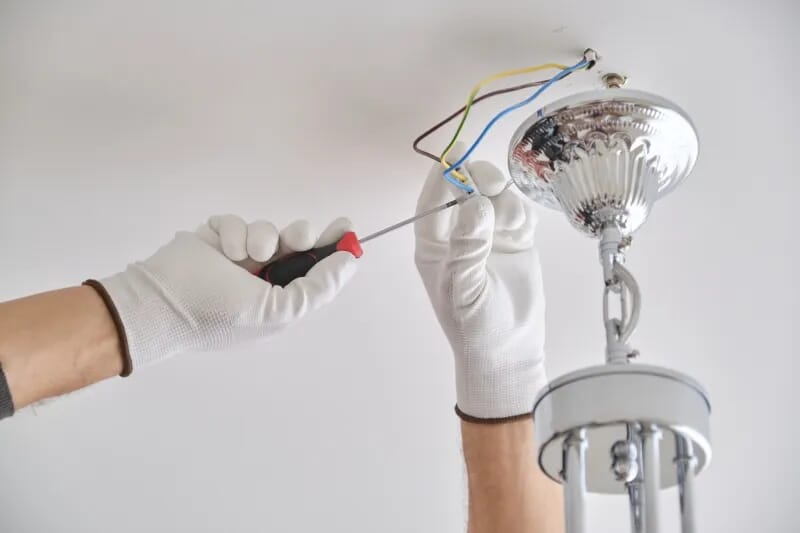
Upgrade Your Space: Easy Steps to Replace a Light Fixture

Introduction
Light fixtures play a crucial role in shaping the ambiance of a space. If you’re looking to refresh your home’s lighting and give it a modern touch, replacing a light fixture is a simple yet impactful project. In this guide, we’ll walk you through the process, providing easy steps to upgrade your space.
Assessing Your Current Fixture
Before diving into the replacement process, take a close look at your current light fixture. Assess its design, functionality, and any issues you may have encountered. Understanding the existing fixture will guide you in selecting a suitable replacement that aligns with your aesthetic preferences and lighting needs.
Choosing the Right Replacement
Selecting the right replacement is key to a successful light fixture upgrade. Consider factors such as the size of the space, the type of lighting required (ambient, task, or accent), and your personal style. Whether you opt for a modern pendant,
