Microwave Makeover: Tips for Sparkling Cleanliness

Microwave Makeover: Tips for Sparkling Cleanliness
Microwaves are indispensable kitchen appliances, but they can quickly accumulate splatters and odors. Follow these easy steps to give your microwave a thorough cleaning and restore its sparkle.
1. Initial Preparations:
Before starting the cleaning process, gather your supplies. You’ll need a microwave-safe bowl, water, white vinegar, a sponge or microfiber cloth, and a toothpick for detailed cleaning. Having these items ready will make the cleaning process more efficient.
2. Steam Cleaning Method:
Fill a microwave-safe bowl with a 1:1 mixture of water and white vinegar. Place the bowl in the microwave and heat it on high for about five minutes. The steam created will help loosen dried-on food and stains, making them easier to wipe away.
3. Wipe Down the Interior:
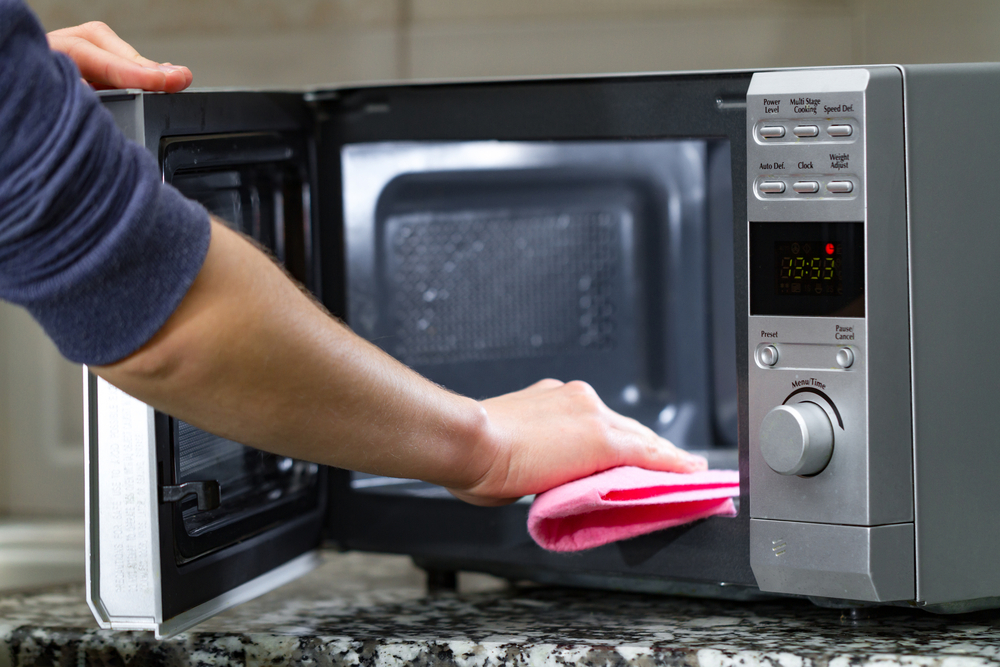
After steaming, carefully remove the bowl (it will be hot) and use a sponge or microfiber cloth to wipe down the interior
Efficient Cleaning: Refresh Your Washing Machine

Understanding the Importance of Washing Machine Maintenance
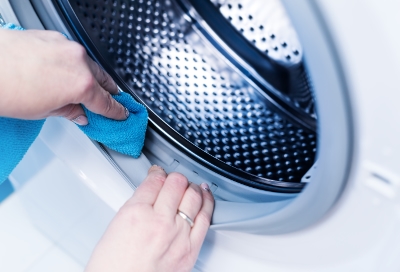
Your washing machine, the workhorse of the laundry room, requires regular maintenance to ensure optimal performance. Over time, detergent residues, dirt, and grime can accumulate, affecting its efficiency and cleanliness. Learn the essential steps to clean your washing machine, keeping it in top condition for fresher and more effective laundry.
Identifying Common Issues: Signs Your Washing Machine Needs Cleaning
Before diving into the cleaning process, it’s essential to identify signs that your washing machine may need attention. Lingering odors, moldy seals, or visible residues on clothes after a wash are indicators of a machine in need of cleaning. By recognizing these signs early, you can address the issues promptly, preventing them from escalating.
Gathering Cleaning Supplies: What You’ll Need
Cleaning your washing machine requires simple household items to effectively remove buildup and residues. Gather white vinegar, baking soda, a microfiber cloth, and an
Renew Your Entryway: Upgrading with a Door Sweep Replacement

Revitalize Your Home: A Guide to Upgrading with a Door Sweep Replacement
Enhancing the energy efficiency and comfort of your home often involves small yet impactful improvements. One such upgrade is replacing the door sweep. In this comprehensive guide, we’ll walk you through the steps of replacing a door sweep, offering insights into the benefits and the simple DIY process.
Understanding the Door Sweep: What is it and Why Replace?
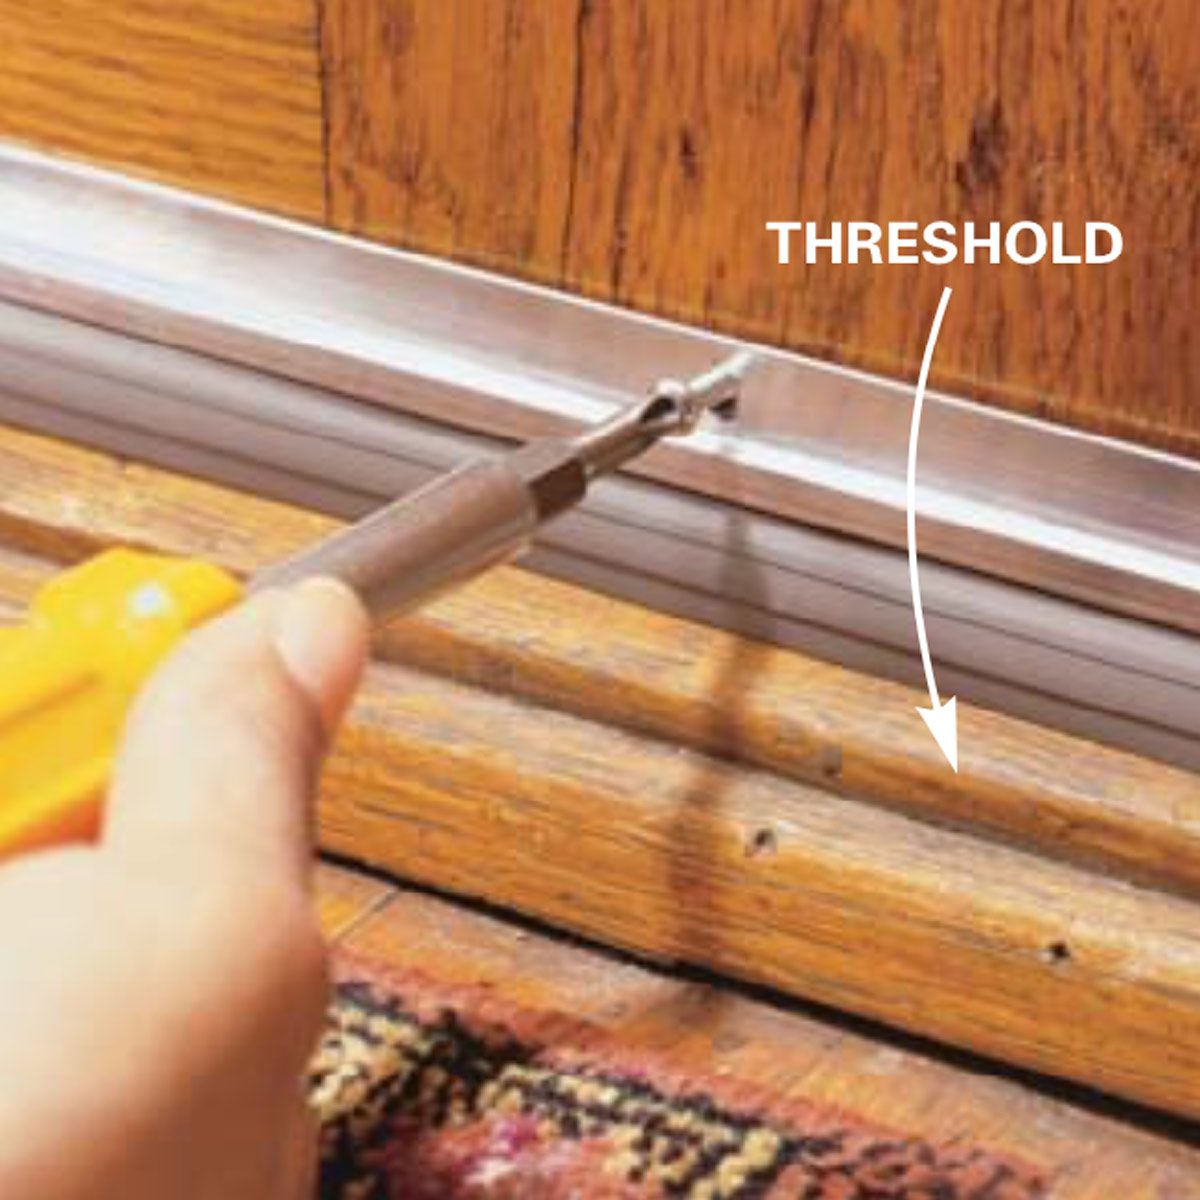
Before delving into the replacement process, it’s essential to understand the role of a door sweep. This thin strip, typically made of rubber or other weather-resistant materials, is installed at the bottom of exterior doors. Its primary purpose is to create a seal, preventing drafts, moisture, and pests from entering your home. Over time, door sweeps may wear out, leading to reduced effectiveness and potential energy loss.
Signs it’s Time for Replacement: Assessing Wear and Tear
Several indicators suggest it’s
Elevate Your Entrance: Installing a New Door Frame

Elevate Your Entrance: Installing a New Door Frame
Introduction: The Gateway to Improvement
The door frame is a crucial element of your home’s entrance, and installing a new one can enhance both aesthetics and functionality. In this comprehensive guide, we’ll walk you through the steps to install a new door frame, transforming your entryway into a focal point that exudes style and durability.
Assessing the Existing Frame: A Foundation for Change
Before diving into the installation process, assess the condition of the existing door frame. Look for signs of damage, rot, or misalignment. If the frame shows extensive wear or structural issues, it’s time to consider a replacement. A solid assessment sets the stage for a successful installation.
Gathering Materials and Tools: The Essentials
Prepare for the installation by gathering the necessary materials and tools. You’ll typically need a new door frame kit, a level, a saw, a hammer, nails
Fixing Drips: DIY Guide to Repair a Leaky Faucet

Identifying the Drip: Diagnosing the Leaky Faucet
A constant drip from a faucet is not only annoying but also wasteful. Before diving into repairs, identify the type of leak you’re dealing with. Is it a slow and steady drip or a faster, more consistent flow of water? Understanding the nature of the leak helps in determining the appropriate course of action.
Gathering Necessary Tools: Be Prepared for the Fix
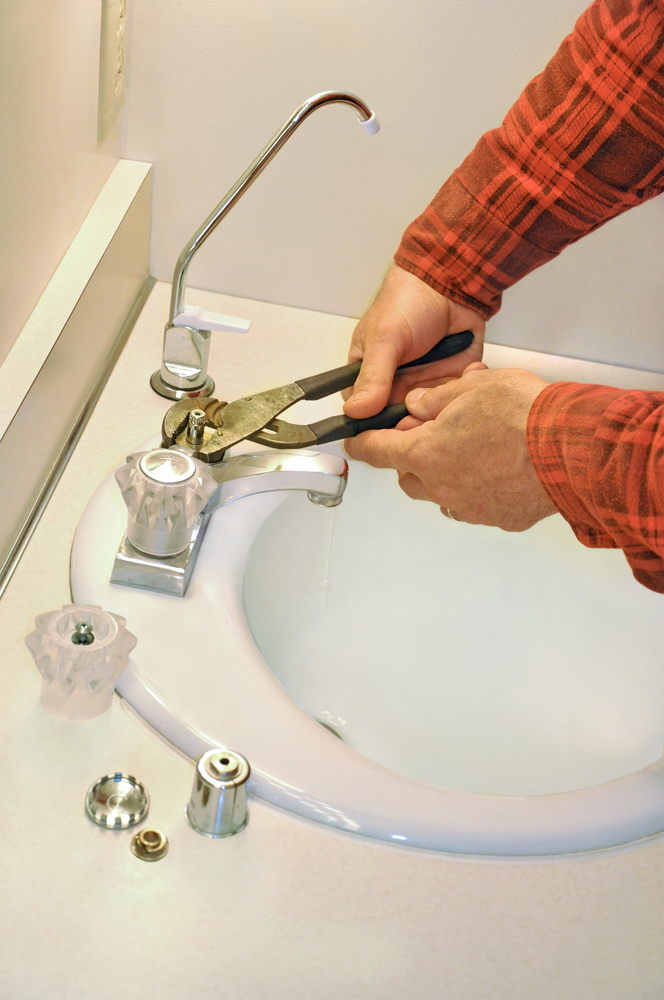
Fixing a leaky faucet is a relatively simple DIY task, but having the right tools is essential. Basic tools such as an adjustable wrench, screwdriver, and plumber’s tape will come in handy. Additionally, consider getting a replacement set of washers or cartridges specific to your faucet model. Being prepared ensures a smoother repair process.
Turning Off the Water Supply: Safety First
Before starting any repair work, turn off the water supply to the affected faucet. Most faucets have a shut-off valve
