Identifying the Drip: Diagnosing the Leaky Faucet
A constant drip from a faucet is not only annoying but also wasteful. Before diving into repairs, identify the type of leak you’re dealing with. Is it a slow and steady drip or a faster, more consistent flow of water? Understanding the nature of the leak helps in determining the appropriate course of action.
Gathering Necessary Tools: Be Prepared for the Fix
Fixing a leaky faucet is a relatively simple DIY task, but having the right tools is essential. Basic tools such as an adjustable wrench, screwdriver, and plumber’s tape will come in handy. Additionally, consider getting a replacement set of washers or cartridges specific to your faucet model. Being prepared ensures a smoother repair process.
Turning Off the Water Supply: Safety First
Before starting any repair work, turn off the water supply to the affected faucet. Most faucets have a shut-off valve under the sink. If there isn’t a specific valve, you may need to turn off the main water supply. This step prevents water from flowing while you work on the faucet, reducing the risk of accidents and ensuring a mess-free repair.
Dismantling the Faucet: Accessing the Components
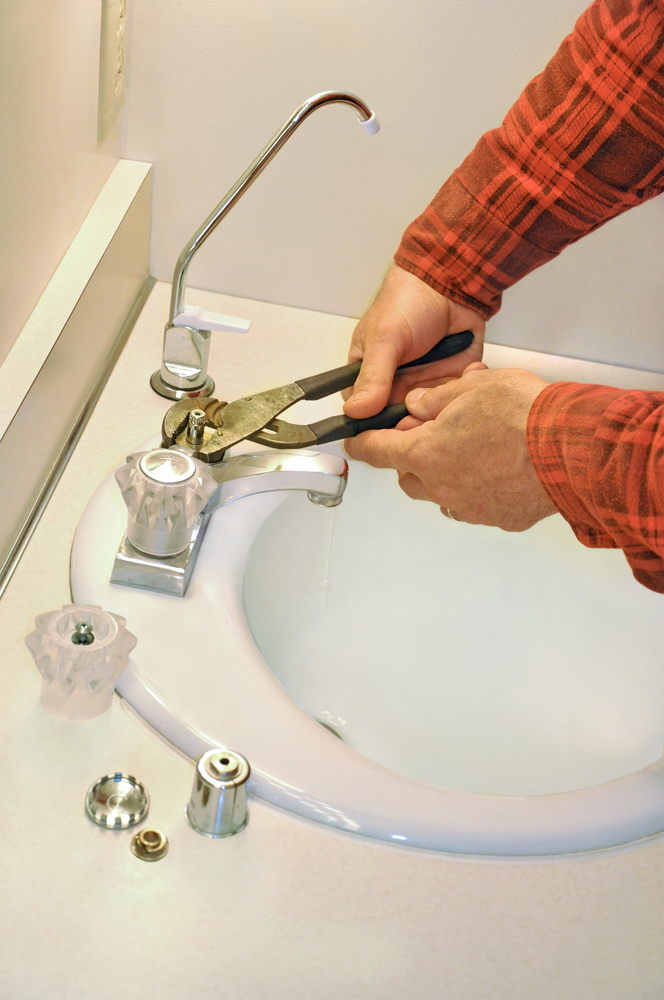
To access the internal components causing the leak, you’ll need to dismantle the faucet. Start by removing the decorative cap, handle, and any retaining nuts. Keep track of the order in which you remove the parts to simplify reassembly later. Once you’ve exposed the internal components, you can proceed to identify and address the source of the leak.
Inspecting and Replacing Washers or Cartridges
Leaky faucets often result from worn-out washers or damaged cartridges. Inspect these components closely, looking for signs of wear, tearing, or corrosion. If you have a compression faucet, replace the rubber washer. For cartridge or ball faucets, consider replacing the entire cartridge or the O-rings if necessary. This step is critical for resolving leaks at the base or handles of the faucet.
Applying Plumber’s Tape: Sealing the Threads
After replacing washers or cartridges, it’s advisable to apply plumber’s tape to the threads of any connections. This tape provides an additional layer of sealing, preventing leaks at threaded joints. Wrap the plumber’s tape clockwise around the threads to ensure a secure and tight fit. This simple yet effective step contributes to the long-term prevention of leaks.
Reassembling the Faucet: Restoring Functionality
With the necessary repairs completed, reassemble the faucet in the reverse order of disassembly. Tighten retaining nuts, handles, and decorative caps securely. Ensure that each component is correctly aligned and properly seated. Take your time during this step to guarantee a thorough and accurate reassembly, preventing future issues.
Turning On the Water: Testing the Repair
Before declaring the repair complete, turn the water supply back on and test the faucet. Check for any signs of leaks, both at the spout and the handles. Run the water for a few minutes to confirm that the leak is fully addressed. If there are no more drips or leaks, you’ve successfully fixed your leaky faucet.
Checking for Residual Leaks: A Thorough Inspection
After the initial test, perform a thorough inspection to check for any residual leaks. Pay attention to the base of the faucet, handles, and spout. Sometimes, small leaks may go unnoticed during the initial test. Address any remaining issues promptly to ensure a comprehensive and effective repair.
Preventive Measures: Maintaining a Leak-Free Faucet
To prevent future leaks, practice regular maintenance. Periodically inspect the faucet for signs of wear or damage. Address any minor issues promptly before they escalate into larger problems. Additionally, be mindful of how you operate the handles, avoiding excessive force that can contribute to premature wear. These preventive measures contribute to the longevity of your faucet.
Exploring DesigningTemptation for More DIY Solutions
For additional DIY guides and solutions, visit DesigningTemptation.com. Whether you’re fixing a leaky faucet, tackling home improvement projects, or exploring creative design ideas, DesigningTemptation offers a wealth of resources to empower your DIY journey. Discover expert tips, step-by-step tutorials, and inspiration for creating a home that reflects your style and functionality.
