Transform Your Space: Expert Tips for Living Room Painting
Creating a fresh and inviting living room begins with a well-executed paint job. In this comprehensive guide, we’ll explore expert tips for painting a living room, turning your space into a vibrant and comfortable haven.
Choosing the Right Color Palette: Setting the Tone
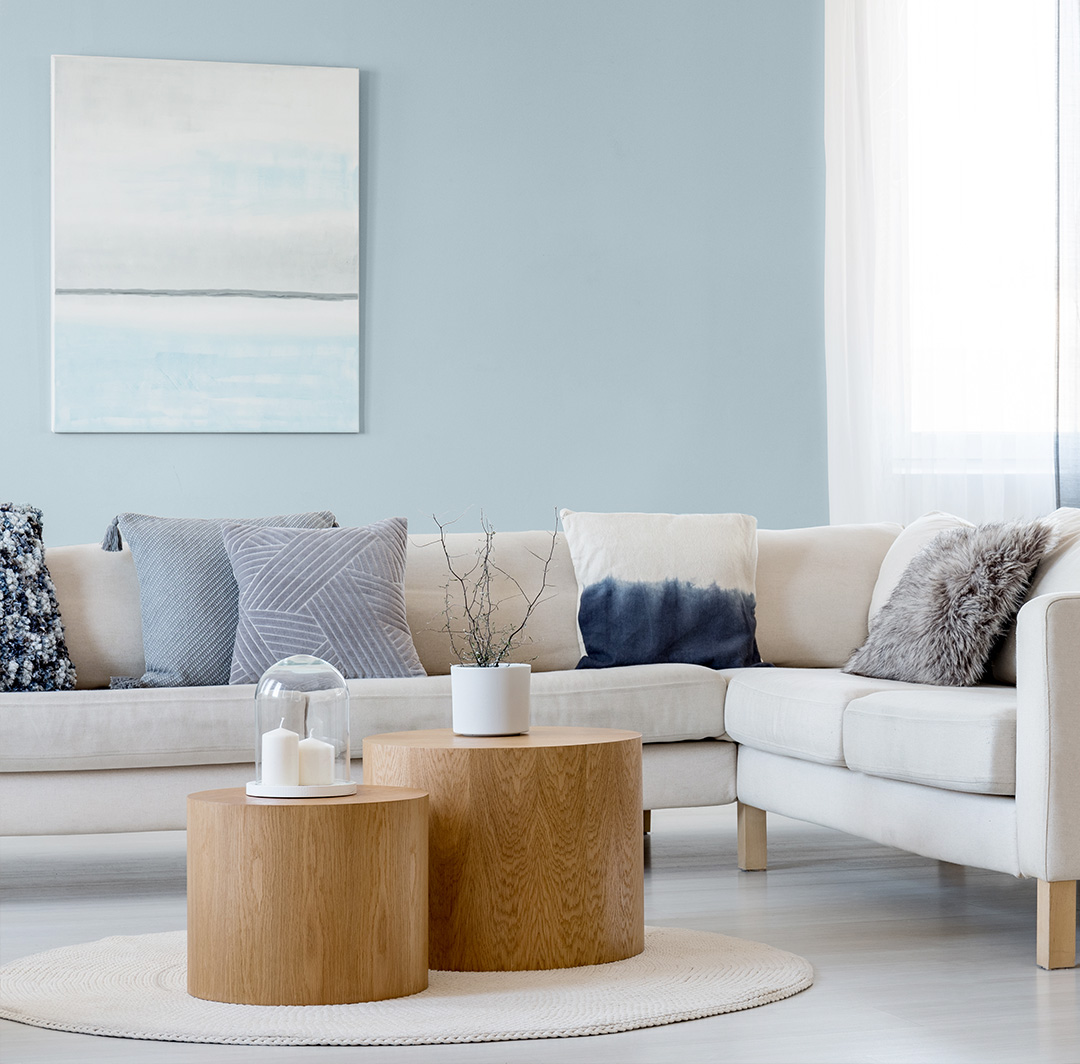
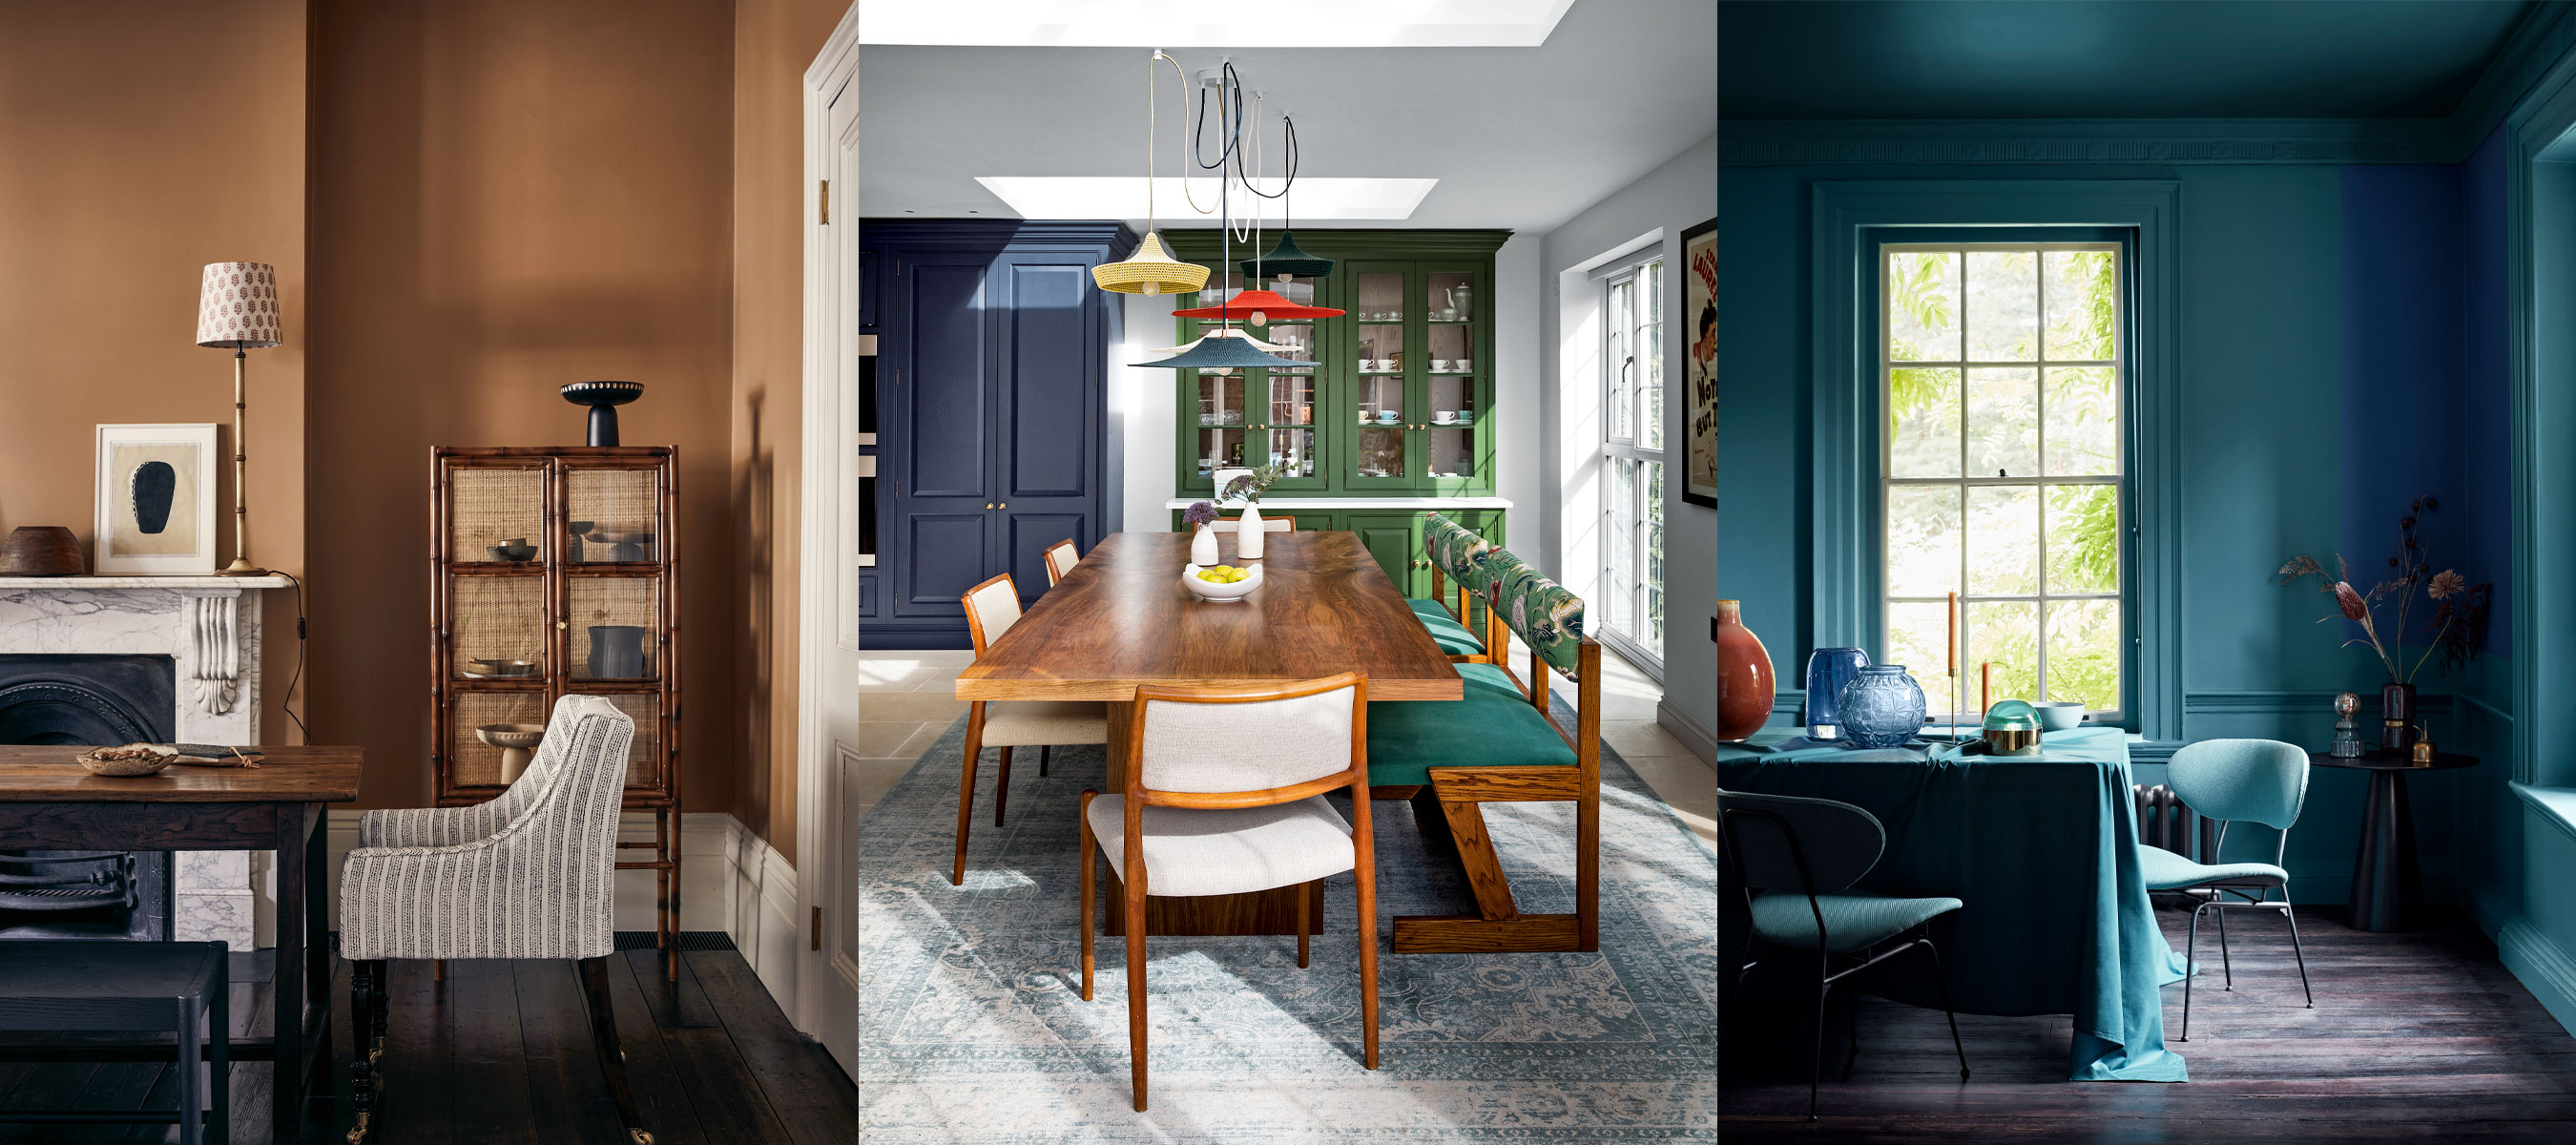
The first step in any successful living room paint project is selecting the right color palette. Consider the mood you want to convey – whether it’s a serene retreat, a lively gathering space, or a cozy sanctuary. Earth tones like warm neutrals and soft blues can create a calming atmosphere, while bold colors add energy and character. Test paint samples on the walls to see how they interact with your room’s lighting and furnishings.
Preparation is Key: Cleaning and Repairing Surfaces
Proper preparation ensures a smooth and long-lasting paint finish. Begin by cleaning the walls to remove dust, dirt, and grease. Repair any cracks or holes with a patching compound, sanding the surfaces afterward for a seamless result. This meticulous preparation sets the stage for flawless paint application and enhances the overall aesthetic of the living room.
Investing in Quality Paint and Tools: Long-Term Benefits
Choosing high-quality paint and tools is an investment that pays off in the long run. Quality paint provides better coverage, durability, and color retention. Opt for a paint finish that suits your lifestyle and the room’s function, such as eggshell for a soft sheen or semi-gloss for easy cleaning. Quality brushes and rollers contribute to a smoother application, resulting in a professional-looking finish.
Using Primer for a Solid Base: Enhancing Adhesion
Priming is a crucial step that often gets overlooked. Applying a primer creates a solid base for the paint, improving adhesion and ensuring a more uniform finish. This step is particularly important when painting over darker colors or surfaces with varying porosity. Invest in a primer suitable for your specific project to enhance the longevity of the paint job.
Mastering the Cutting-In Technique: Precision Along Edges
The cutting-in technique involves carefully painting along the edges and corners of the walls before using a roller for larger areas. Mastering this technique requires a steady hand and a high-quality angled brush. Take your time, use painter’s tape for added precision if needed, and create clean lines along ceilings, baseboards, and corners. This meticulous approach elevates the overall look of the living room.
Efficient Roller Application: Achieving Consistency
When it comes to painting larger wall surfaces, a roller is the tool of choice for efficiency and consistency. Use a high-quality roller cover suitable for the paint finish and texture of your walls. Work in manageable sections, applying the paint in a “W” or “M” shape before filling in the gaps. Maintaining a wet edge helps prevent roller marks and ensures a seamless finish.
Accent Walls for Visual Interest: Adding Dimension
Consider incorporating an accent wall to add visual interest and dimension to the living room. Choose a color that complements the overall palette but offers a striking contrast. Whether it’s a bold hue, a textured finish, or a decorative mural, an accent wall becomes a focal point, enhancing the room’s design and creating a dynamic atmosphere.
Careful Furniture Protection: Shielding Your Belongings
Protecting your furniture and belongings during the painting process is essential. Move furniture to the center of the room or cover it with drop cloths. Use plastic sheeting to shield larger pieces and create a barrier between the paint and your furnishings. This precautionary step ensures that your living room makeover only enhances the walls, not your furniture.
Proper Drying and Curing: Patience Pays Off
Once the painting is complete, exercise patience during the drying and curing process. Allow the paint to dry completely between coats, following the manufacturer’s recommended drying times. Full curing, where the paint reaches its maximum hardness and durability, may take a few weeks. Avoid heavy traffic and rigorous cleaning during this period to preserve the integrity of the freshly painted surfaces.
Final Touches and Enjoying the Transformation: Revel in Your New Space
After the paint has dried and cured, it’s time for the final touches. Reinstall furniture, hang artwork, and arrange décor to showcase the living room’s new look. Step back and revel in the transformation – a space that reflects your style, evokes the desired atmosphere, and invites comfort and joy.
For a curated selection of paints, tools, and expert advice on transforming your living room, visit DesigningTemptation.com. Elevate your space with quality products and professional insights for a living room that truly feels like home.


