Introduction
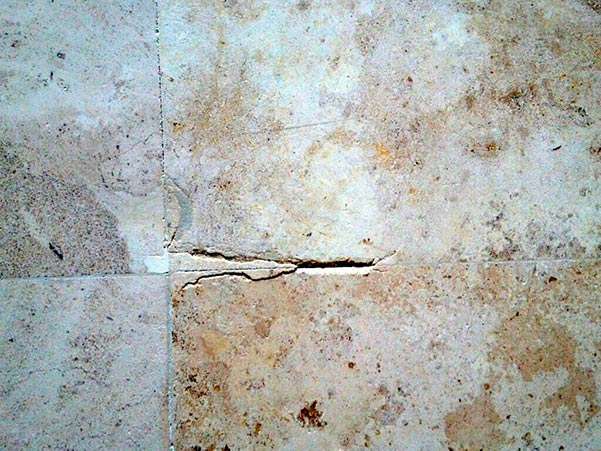
A broken tile on your floor can be an eyesore and a potential hazard. Whether it’s a result of heavy impact or wear and tear, fixing a broken tile is a manageable DIY task that can restore the aesthetics and safety of your space. In this guide, we’ll walk you through the steps to fix a broken tile, ensuring a seamless repair that enhances the overall appearance of your flooring.
Assessing the Damage
Before diving into the repair process, assess the extent of the damage. Determine if the tile is chipped, cracked, or completely broken. This initial evaluation will guide you in deciding whether to repair the existing tile or replace it entirely. Assessing the damage allows for a more targeted and effective approach to the repair.
Gathering Materials and Tools
To fix a broken tile, you’ll need the right materials and tools. Gather a replacement tile that matches the existing ones, tile adhesive, a notched trowel, grout, a putty knife, and a sponge. Ensure the replacement tile closely resembles the original in terms of size, color, and texture to achieve a seamless result.
Removing the Broken Tile
Carefully remove the broken tile using a chisel and hammer. Start by chipping away the grout around the broken tile to expose its edges. Then, use the chisel to break the tile into smaller pieces, making it easier to remove. Exercise caution to avoid damaging surrounding tiles during this process.
Cleaning the Subfloor
Once the broken tile is removed, clean the subfloor thoroughly. Remove any remaining adhesive or grout, ensuring a smooth and level surface for the replacement tile. A clean subfloor promotes better adhesion and helps achieve a professional-looking repair.
Applying Tile Adhesive
Apply a thin layer of tile adhesive to the cleaned subfloor using a notched trowel. Ensure the adhesive is evenly spread to create a solid bond between the subfloor and the replacement tile. The notches in the trowel help create a uniform adhesive layer, preventing air pockets and promoting a secure attachment.
Placing the Replacement Tile
Carefully place the replacement tile into the adhesive, aligning it with the surrounding tiles. Press down gently to ensure the tile is securely attached. Use spacers to maintain uniform grout lines between the replacement tile and the neighboring ones. Allow the adhesive to set according to the manufacturer’s instructions.
Grouting the Repair
Once the adhesive has set, it’s time to grout the repair. Mix the grout according to the manufacturer’s guidelines, ensuring a smooth and lump-free consistency. Apply the grout over the repaired area using a putty knife or a rubber float, pressing it into the spaces between the tiles. Wipe away excess grout using a damp sponge.
Cleaning and Sealing
After the grout has set for the recommended time, clean the surface of the tiles with a damp sponge to remove any remaining grout residue. Allow the grout to cure completely before applying a grout sealer. The sealer helps protect the grout from stains and moisture, ensuring a long-lasting and attractive repair.
Blending with Existing Tiles
To achieve a seamless look, ensure the repaired area blends with the existing tiles. Match the color of the grout as closely as possible, and if necessary, consider cleaning or resealing the adjacent tiles to maintain a consistent appearance. A well-blended repair contributes to the overall aesthetic harmony of the flooring.
Preventing Future Damage
To prevent future tile damage, consider using area rugs or mats in high-traffic areas, especially in places prone to impact or heavy use. Regularly inspect your tiled floors for any signs of wear or damage, addressing issues promptly to avoid extensive repairs.
Conclusion
Fixing a broken tile is a manageable DIY task that can enhance the appearance and safety of your flooring. By carefully assessing the damage, using the right materials and tools, and following a systematic repair process, you can achieve a seamless and professional-looking result. For more home improvement tips and inspiration, visit DesigningTemptation.com.
