Freshen Up: Simple Steps to Clean a Garbage Disposal
:max_bytes(150000):strip_icc()/cleaning-a-garbage-disposal-2718863-step-06-eefb70a116b741eb82beec94e062c915.jpg)
Freshen Up: Simple Steps to Clean a Garbage Disposal
Garbage disposals play a crucial role in keeping our kitchens clean, but they can accumulate unpleasant odors over time. Follow these easy steps to clean and freshen up your garbage disposal, ensuring a more hygienic and pleasant kitchen environment.
Assessing the Situation:
Before diving into cleaning, assess the condition of your garbage disposal. Identify any lingering odors, visible debris, or unusual noises. This initial assessment helps tailor the cleaning approach to address specific issues.
Gathering Supplies:
To clean a garbage disposal, you’ll need simple household items. Gather white vinegar, baking soda, ice cubes, citrus peels (such as lemon or orange), a small brush or an old toothbrush, and a cup of rock salt. These items work together to break down residue, eliminate odors, and sharpen the disposal blades.
Flushing with Ice Cubes:
Begin the cleaning process by tossing a handful of
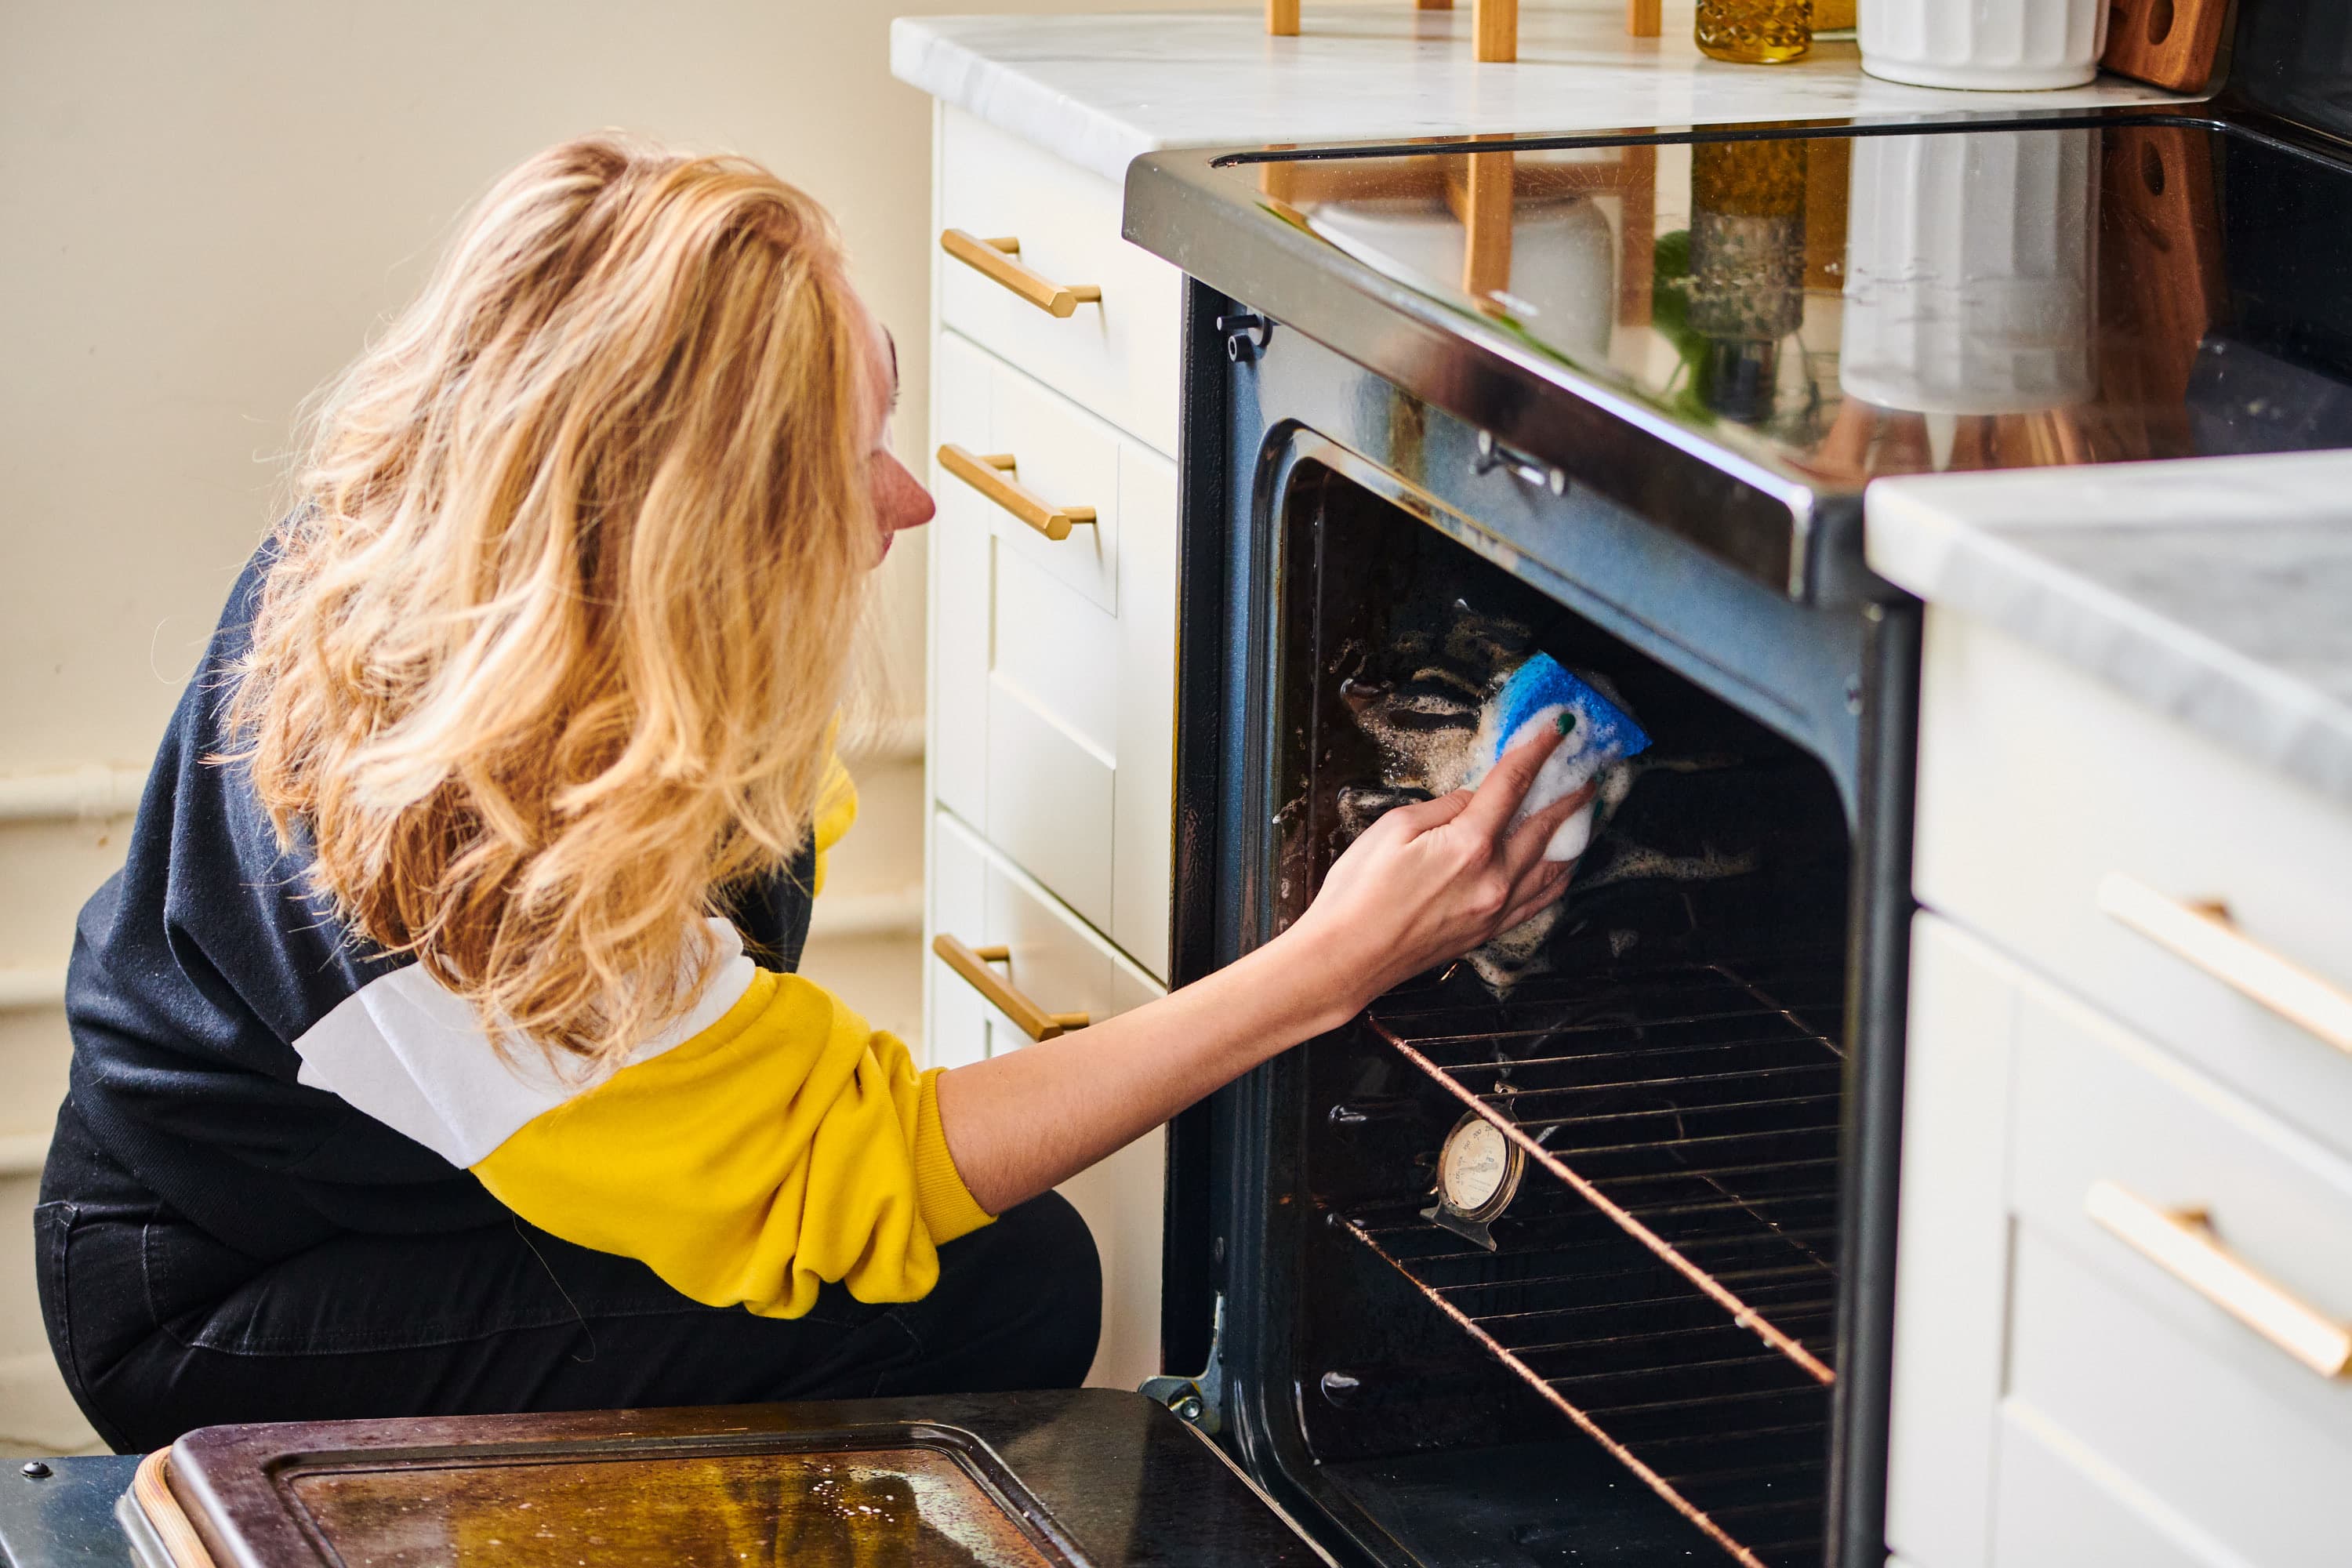
Refresh Your Kitchen: Effortless Oven Cleaning Tips

Effortless Oven Cleaning Tips for a Refreshed Kitchen
Maintaining a clean oven not only ensures the longevity of your appliance but also contributes to the overall hygiene of your kitchen. Discover easy and effective oven cleaning tips to revive the heart of your culinary space.
Understanding the Importance of Oven Cleaning: A Hygienic Kitchen
Oven cleaning is more than just a cosmetic task; it’s a vital aspect of maintaining a hygienic kitchen. Over time, food spills, grease, and residues can accumulate, leading to unpleasant odors and the risk of cross-contamination. Regular cleaning not only enhances the appliance’s performance but also ensures the safety of your meals.
Preparation: Gathering the Right Tools and Materials
Before diving into oven cleaning, gather the necessary tools and materials. You’ll need a sponge or scrub brush, a mixture of baking soda and water, vinegar, and a damp cloth. Additionally, ensure your oven is cool before
