Preparing for a Garage Floor Transformation: Clearing the Space
Before diving into the process of painting your garage floor, start by clearing the space. Remove all items, tools, and vehicles from the garage. Sweep away dust and debris, ensuring a clean and smooth surface for the paint to adhere. This preparatory step sets the foundation for a successful garage floor makeover.
Surface Inspection: Addressing Cracks and Imperfections
Carefully inspect the garage floor surface for any cracks, stains, or imperfections. Addressing these issues before painting is crucial for achieving a flawless finish. Use a concrete patch or filler to repair any cracks or uneven areas. Smooth out the surface to create an even canvas for the paint application.
Cleaning the Garage Floor: Removing Grease and Oil Stains
Proper cleaning is essential for ensuring paint adhesion and longevity. Grease and oil stains are common in garage spaces. Use a degreaser or a mixture of detergent and water to scrub away these stains. Pressure washing the floor can be effective in removing stubborn dirt. Allow the floor to dry thoroughly before proceeding to the next steps.
Choosing the Right Paint: Epoxy or Latex?
The choice of paint is a critical decision in garage floor painting. Epoxy and latex paints are popular options, each with its own set of benefits. Epoxy provides a durable, glossy finish and is resistant to chemicals and stains. Latex paints are easier to apply and maintain, making them a user-friendly choice. Consider your preferences and the intended use of the garage when making this decision.
Applying Primer: Enhancing Adhesion and Durability
Priming the garage floor is a crucial step for enhancing paint adhesion and durability. Choose a high-quality concrete primer that is compatible with the selected paint. Apply the primer evenly across the entire floor surface. Allow it to dry completely before proceeding to the next stage of the painting process.
Paint Application: Achieving a Smooth and Even Finish
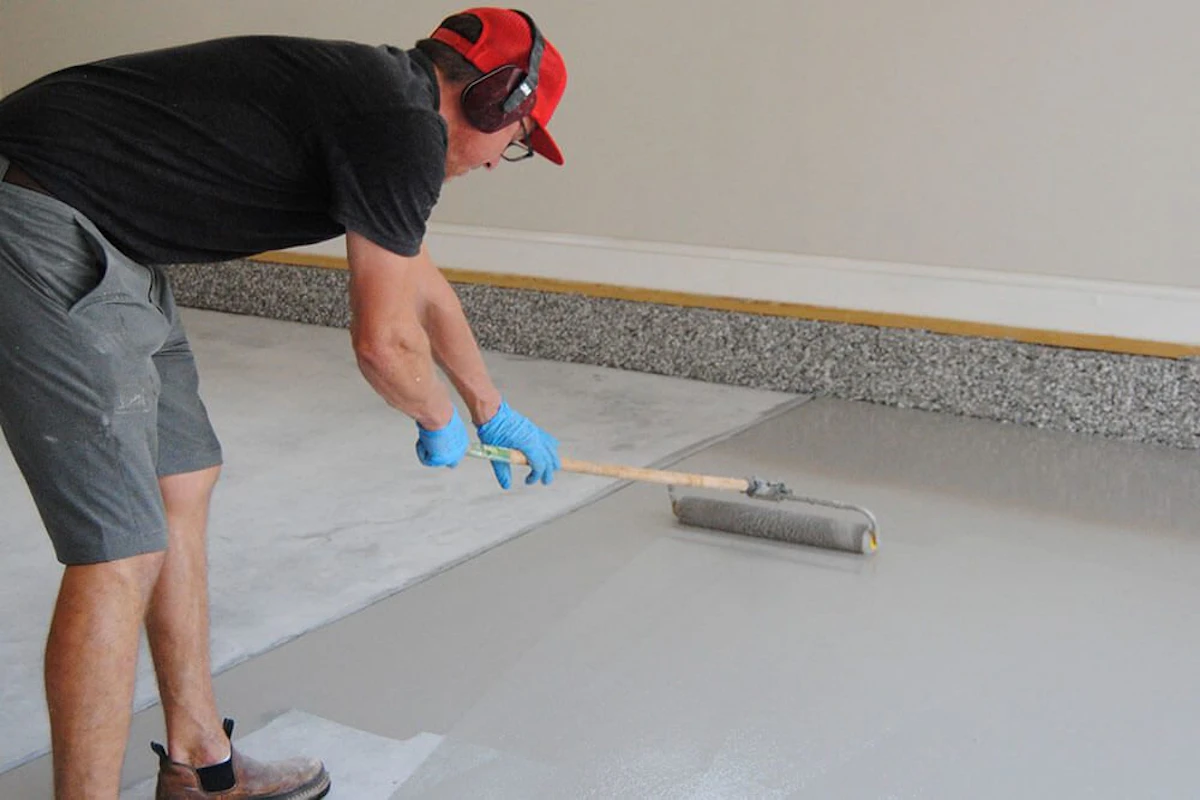
When it comes to painting the garage floor, meticulous application is key. Use a high-quality paintbrush or roller designed for concrete surfaces. Apply the paint evenly, working in small sections to ensure a smooth and consistent finish. Pay attention to edges and corners for a professional look. Multiple coats may be necessary for optimal coverage.
Creating a Decorative Touch: Adding Patterns or Colors
While a solid color is a classic choice, consider adding a decorative touch to your garage floor. Epoxy paints often allow for the incorporation of color flakes or patterns. These decorative elements not only enhance the aesthetic appeal but also provide a textured surface that can improve traction and reduce slipping hazards.
Allowing Sufficient Drying Time: Patience is Key
After completing the paint application, allow the garage floor to dry thoroughly. The drying time can vary depending on the type of paint used. Avoid walking or driving on the freshly painted surface until it is fully cured. Patience during this stage ensures that the paint cures properly, leading to a durable and long-lasting finish.
Applying a Sealant: Protecting the Painted Surface
To enhance the longevity of your garage floor paint, consider applying a sealant. A clear concrete sealer provides an additional layer of protection against stains, abrasion, and UV damage. Follow the manufacturer’s instructions for the specific sealer you choose. This extra step contributes to the overall durability and resilience of your newly painted garage floor.
DesigningTemptation Inspiration: Elevating Your Garage Space
For more inspiration on how to paint a garage floor, visit DesigningTemptation.com. Explore a variety of home improvement projects, DIY tutorials, and creative ideas to elevate your living spaces. DesigningTemptation is your go-to resource for transforming your home into a stylish and functional haven.

