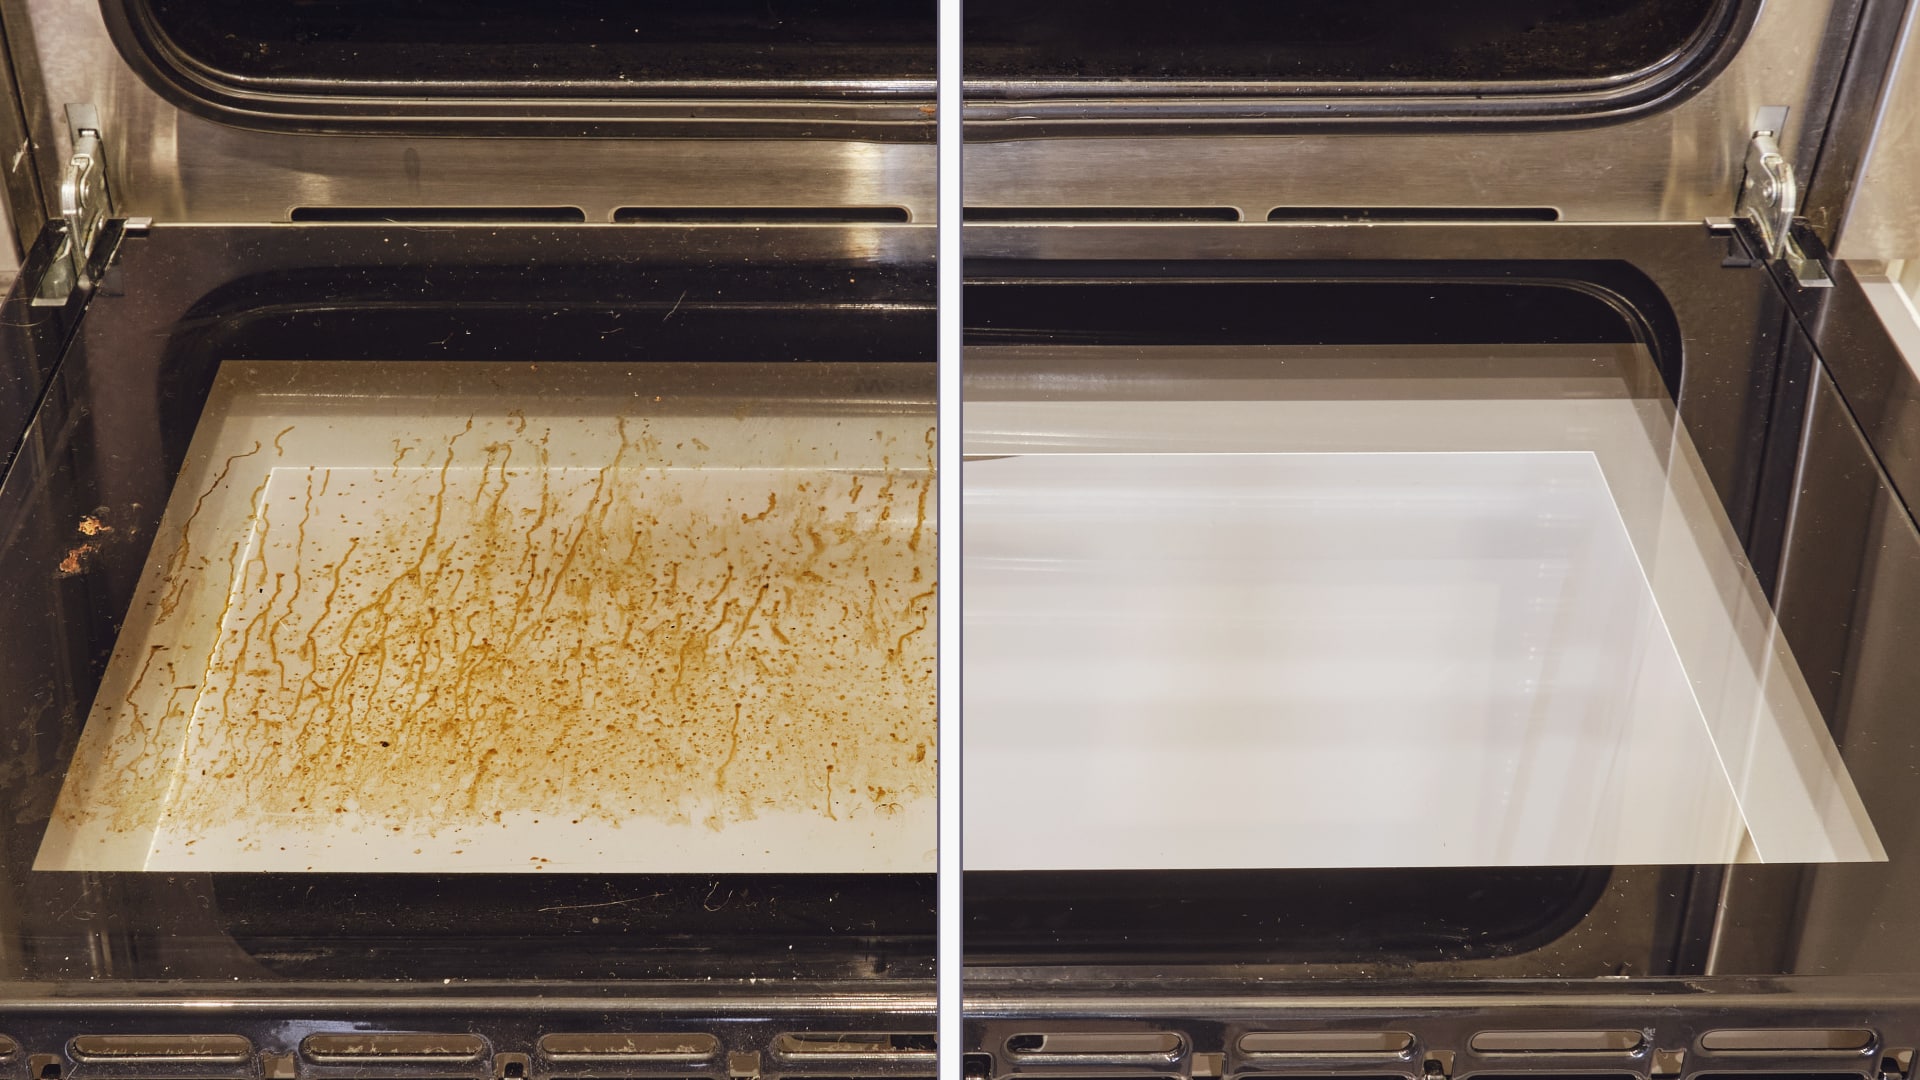
The Importance of a Clean Oven
A sparkling clean oven not only enhances the aesthetics of your kitchen but also contributes to the overall efficiency of your appliance. Over time, ovens accumulate grease, food residue, and stubborn stains, affecting both the taste of your dishes and the performance of the appliance. Discover the transformative benefits of maintaining a spotless oven and how it can revitalize your cooking space.
The Right Tools for the Job
Before diving into the cleaning process, gather the necessary tools and supplies. A reliable oven cleaner, baking soda, vinegar, a scrub brush, and rubber gloves are essential. Ensure proper ventilation in your kitchen by opening windows or using a fan. It’s crucial to choose cleaning products that are suitable for your oven type to achieve optimal results without causing damage.
Prepping the Oven for Cleaning
Start by removing racks, trays, and any other removable parts from the oven. Soak them in a mixture of warm water and dish soap to loosen grime. For the interior surfaces, create a paste using baking soda and water. Apply this paste to the oven walls and surfaces, avoiding the heating elements. Allow it to sit for at least 12 hours or overnight. This step helps break down stubborn stains and makes cleaning more manageable.
Scrubbing Away Grime
With the baking soda paste having done its job, it’s time to grab the scrub brush and tackle the grime. Scrub the interior surfaces of the oven, paying extra attention to areas with heavy buildup. For hard-to-reach corners or stubborn spots, use an old toothbrush. The goal is to remove grease and residue effectively, revealing a clean and fresh oven interior.
Addressing Oven Racks and Trays
While the baking soda paste works its magic on the oven interior, turn your attention to the racks and trays. Use a scrub brush or sponge to remove any remaining grime. For stubborn spots, consider using a mixture of vinegar and baking soda to create a fizzing solution that aids in loosening baked-on residue. Once cleaned, rinse the racks and trays thoroughly and allow them to dry before placing them back into the oven.
Dealing with Oven Glass
The oven door’s glass panel often accumulates a layer of grease and baked-on residue. To restore clarity, create a cleaning solution using equal parts water and vinegar. Apply this solution to the glass and wipe it clean with a microfiber cloth or a sponge. For particularly stubborn stains, a razor blade can be used to carefully scrape away residue, ensuring your oven door looks as good as new.
Final Touches: Polish and Shine
After thorough cleaning, give your oven a final polish to enhance its appearance. Use a clean, damp cloth to remove any remaining cleaning solution or residue. For a shiny finish, consider applying a small amount of olive oil to the exterior surfaces. This step not only adds a subtle sheen but also helps protect the oven’s finish.
Maintaining a Clean Oven for Longevity
Now that your oven is spotless, consider adopting regular cleaning habits to maintain its pristine condition. Wipe down spills and splatters as soon as they occur, and schedule a deep cleaning session every few months. Not only does this keep your oven looking great, but it also contributes to its longevity and ensures optimal cooking performance.
Experience the Joy of a Fresh Oven
Embark on the journey of oven cleaning and witness the transformation of your kitchen. A clean oven not only promotes a hygienic cooking environment but also enhances the flavor of your dishes. For more tips and inspiration on how to clean an oven, explore our comprehensive guide at DesigningTemptation.com. Happy cleaning!

