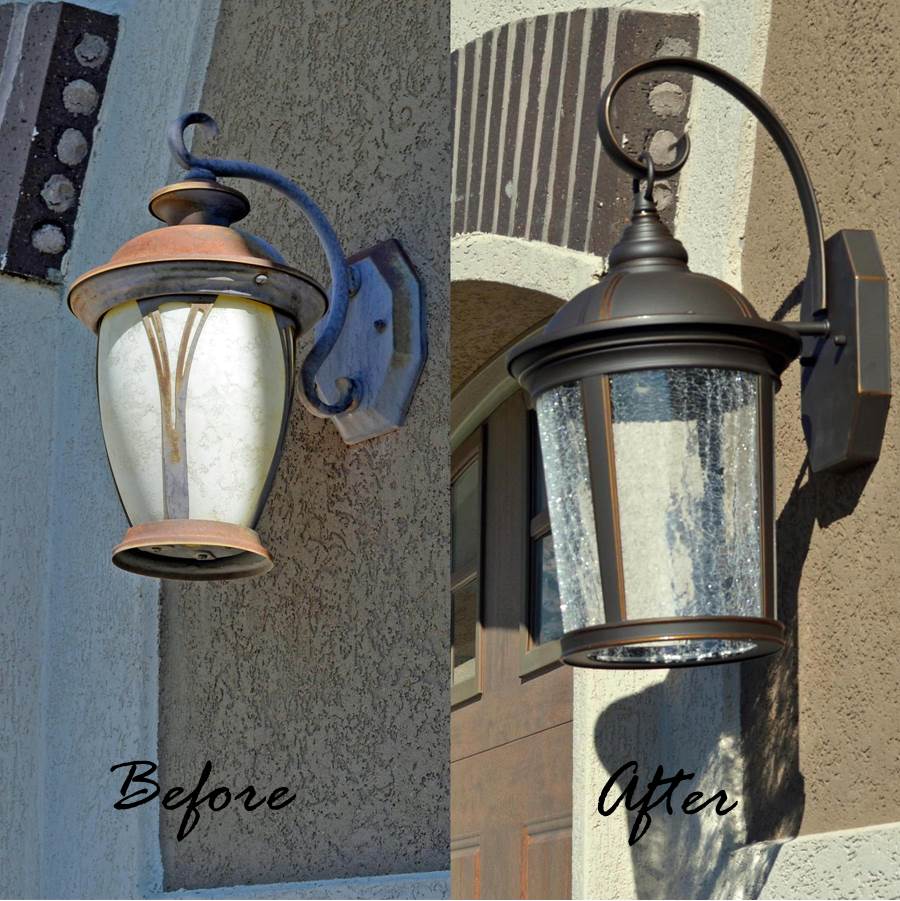
Brighten Your Space: Effortless Light Fixture Replacement
Updating the light fixtures in your home can instantly enhance its ambiance. Whether you’re aiming for a modern look or simply need a functional upgrade, replacing a light fixture is a manageable DIY project. In this guide, we’ll walk you through the steps of effortlessly replacing a light fixture, allowing you to illuminate your space with style.
Assessing Your Lighting Needs: Functional and Aesthetic Considerations
Before diving into the replacement process, assess your lighting needs. Consider the function of the space and the ambiance you want to create. Choose a fixture that not only complements your aesthetic preferences but also provides the right level of illumination. Whether it’s a pendant light, chandelier, or ceiling fan with lights, ensure it aligns with your functional and aesthetic considerations.
Choosing the Right Fixture: Matching Style and Functionality
The market offers a vast array of light fixtures, each catering to different styles and functionalities. Whether you prefer a classic chandelier, a sleek pendant light, or a contemporary ceiling fan with integrated lighting, choose a fixture that aligns with your overall design vision. Additionally, consider factors such as the fixture’s size, the type of bulbs it accommodates, and any additional features like dimmability.
Gathering Necessary Tools and Materials: Preparation for Success
Before starting the replacement, gather the necessary tools and materials. You’ll likely need a screwdriver, wire stripper, voltage tester, and possibly a ladder, depending on the fixture’s height. Ensure you have the appropriate replacement light fixture and bulbs on hand. Proper preparation with the right tools ensures a smooth and successful replacement process.
Turning Off the Power: Safety First
Before touching any wires, it’s crucial to turn off the power to the existing light fixture. Locate the circuit breaker that controls the fixture, switch it off, and use a voltage tester to confirm that the power is indeed off. Safety should always be a priority during any electrical work.
Removing the Old Fixture: Step-by-Step Process
Once the power is off, carefully remove the old light fixture. Start by unscrewing and removing the existing light bulbs. Then, unscrew and detach the fixture from the mounting bracket. Expose the electrical wires, making note of their colors. Typically, black wires are hot, white wires are neutral, and green or copper wires are ground.
Disconnecting and Labeling Wires: Organized Approach
Before disconnecting the wires, label them to maintain an organized approach. Use masking tape and a pen to label each wire according to its color and function. This step is particularly helpful if the wires are not color-coded. Once labeled, disconnect the wires from the old fixture by loosening the wire nuts.
Attaching the New Fixture: Wiring and Mounting
With the old fixture removed, it’s time to attach the new one. Connect the corresponding wires from the new fixture to the labeled wires in the electrical box. Secure each connection with wire nuts and tuck the wires back into the electrical box. Align the new fixture with the mounting bracket and secure it in place using the provided screws.
Installing Light Bulbs: Finishing Touch
Once the new fixture is securely in place, install the appropriate light bulbs. Refer to the manufacturer’s instructions for the recommended bulb type and wattage. Avoid exceeding the recommended wattage to prevent overheating. With the light bulbs in place, restore power to the fixture at the circuit breaker and test the new installation.
Adjusting and Balancing: Ensuring Symmetry
Depending on the type of fixture, you may need to make adjustments to ensure it hangs or sits level. Use a level to check for symmetry and make any necessary adjustments to achieve a balanced and aesthetically pleasing result. Proper alignment adds to the overall polished look of the replacement.
Enjoying Your Upgraded Space: Basking in the Glow
With the new light fixture successfully installed, take a moment to bask in the improved ambiance of your space. Whether it’s a brighter kitchen, a cozier bedroom, or an enhanced entryway, your effort in replacing the light fixture has transformed the room. Enjoy the upgraded lighting and the aesthetic impact it brings to your home.
In conclusion, replacing a light fixture is a rewarding and achievable DIY project that instantly elevates your home’s atmosphere. By carefully selecting the right fixture, following safety precautions, and executing the replacement steps, you can brighten your space effortlessly. For a curated selection of stylish light fixtures, visit DesigningTemptation.com and embark on your journey to a well-lit and beautifully designed home.
