Quick Fix: Repairing a Leaky Window

Quick Fix: Repairing a Leaky Window
Introduction: Tackling the Drip Dilemma
A leaky window can be a persistent annoyance, leading to water damage, energy loss, and decreased indoor comfort. In this guide, we’ll explore simple yet effective methods to repair a leaky window, providing you with the tools and knowledge to address the issue promptly and prevent further damage.
Identifying the Source: Where’s the Leak?
Before diving into repairs, pinpointing the source of the leak is crucial. Inspect the window frame, sill, and surrounding areas for visible signs of water entry. Check for damaged caulking, gaps in the frame, or compromised weatherstripping. Identifying the exact location of the leak sets the stage for targeted and effective repairs.
Removing Old Caulk: Clearing the Path
Old or deteriorating caulking is a common culprit behind leaky windows. Begin the repair process by carefully removing the existing caulk around the window frame. Use a
Elevate Your Space: Installing a Stylish New Countertop

Elevate Your Space: A Guide to Installing a Stylish New Countertop
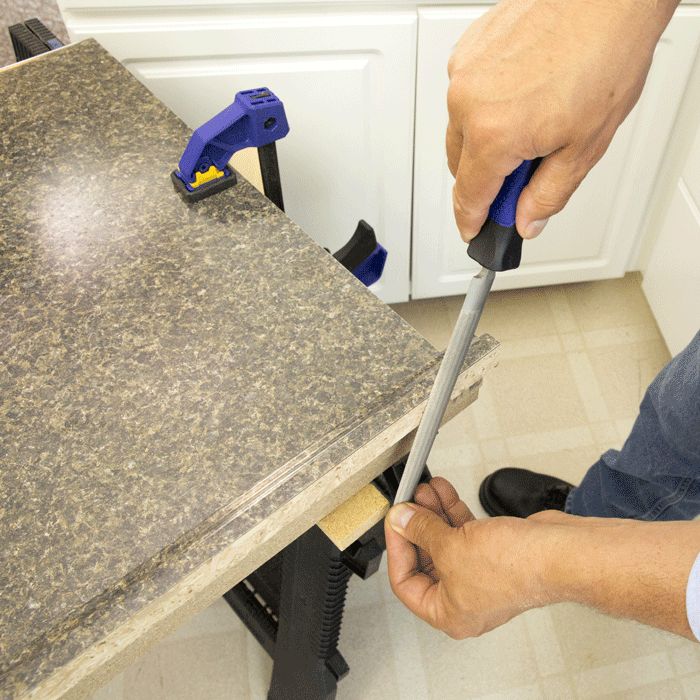
Upgrading your kitchen or bathroom with a new countertop can breathe fresh life into the space, providing both aesthetic appeal and functionality. In this comprehensive guide, we’ll take you through the process of installing a new countertop, helping you transform your environment with style and ease.
Choosing the Right Material: Aesthetic and Practical Considerations
Before diving into the installation process, it’s essential to choose the right countertop material for your space. Consider both aesthetic preferences and practical considerations such as durability and maintenance. Popular options include granite, quartz, marble, and laminate, each offering a unique blend of style and functionality.
Measuring and Planning: Precision is Key
Once you’ve selected the perfect countertop material, precision becomes crucial. Measure the dimensions of your existing countertop accurately, accounting for any appliances or fixtures. With precise measurements in hand, you can plan the
Bathroom Makeover: Transforming with a Fresh Coat of Paint

Bathroom Makeover: Transforming with a Fresh Coat of Paint
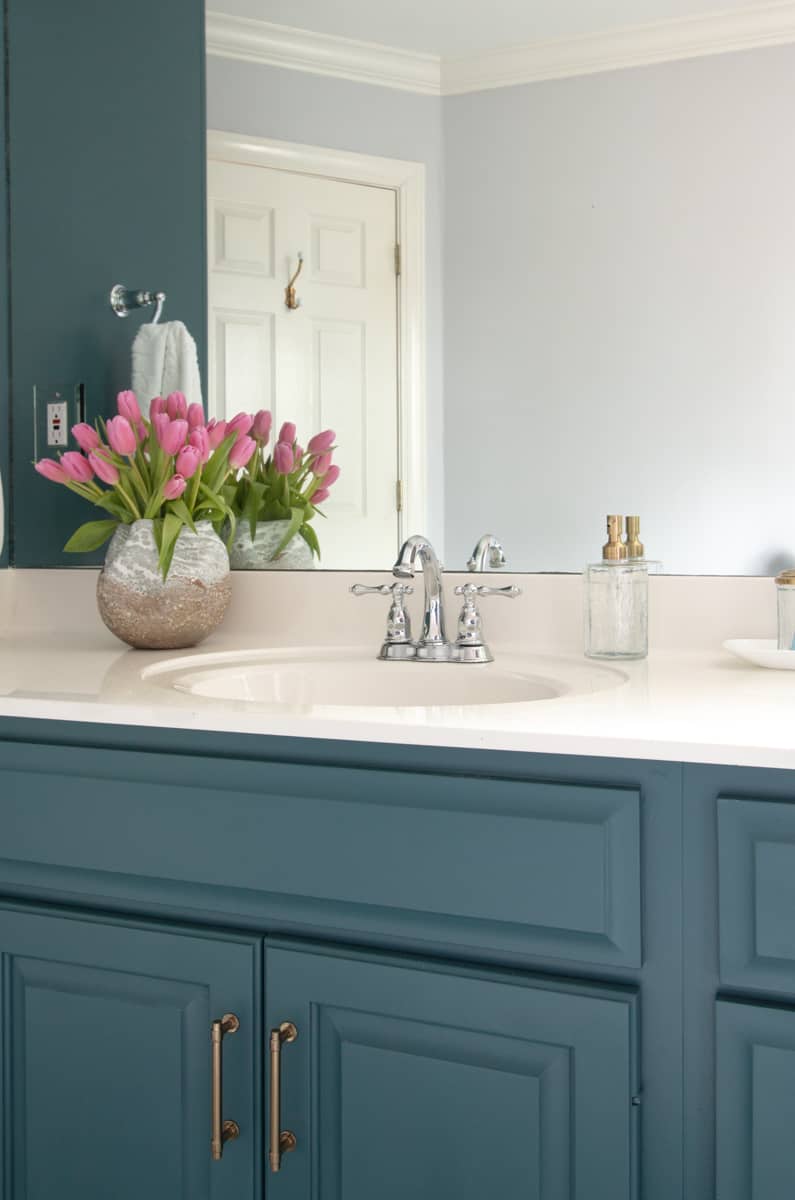
Revitalizing your bathroom doesn’t always require a complete overhaul. One of the most effective and budget-friendly ways to enhance the space is by giving it a fresh coat of paint. Let’s explore the transformative power of paint and the steps to achieve a stunning bathroom makeover.
**1. Choosing the Right Color
The first step in any painting project is selecting the right color. Consider the size of your bathroom, the existing color scheme, and the mood you want to create. Lighter colors can make a small bathroom feel more spacious, while bold colors can add drama and character. Explore various shades and take paint samples to test on the walls before making a final decision.
Paint a Bathroom with Designing Temptation
Discover a wide range of premium paints and stylish color options at DesigningTemptation.com. Elevate your bathroom with quality paints
Elevate Your Entrance: Installing a New Door Frame

Elevate Your Entrance: Installing a New Door Frame
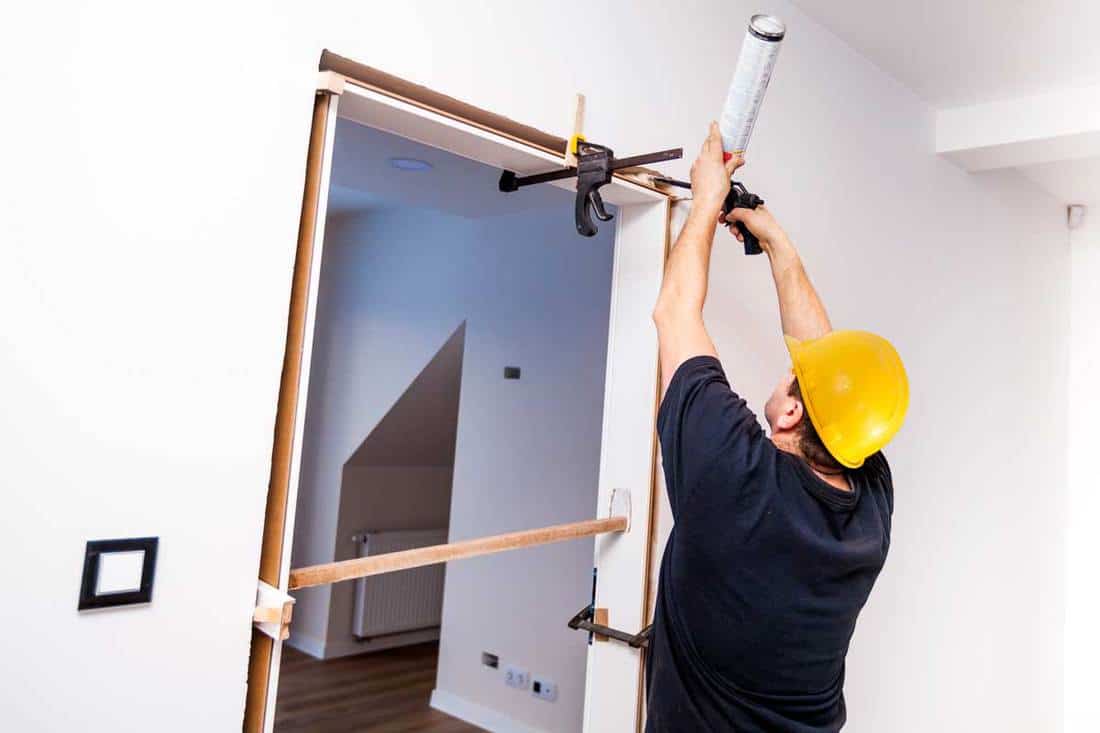
A new door frame not only enhances the aesthetic appeal of your home but also contributes to improved security and energy efficiency. In this detailed guide, we’ll take you through the process of installing a new door frame, providing insights and tips for a successful upgrade.
Assessment and Planning: Lay the Foundation
Before diving into the installation process, assess the existing door frame and plan accordingly. Measure the dimensions of the door frame opening, considering both width and height. Evaluate the condition of the surrounding wall to ensure it can support the new frame. Proper assessment and planning lay the foundation for a seamless installation.
Gather Necessary Tools and Materials: Be Prepared
To ensure a smooth installation, gather all the necessary tools and materials beforehand. Essential tools include a tape measure, level, saw, chisel, hammer, and screwdriver. Additionally, acquire the new door
Upgrade Your Entrance: Easy Steps to Replace a Doorknob

Introduction
Upgrading your home’s entrance can be as simple as replacing a doorknob. Whether you’re enhancing security or aiming for a fresh aesthetic, replacing a doorknob is a DIY project that yields significant results. In this guide, we’ll walk you through the easy steps to replace a doorknob, elevating your home’s curb appeal and functionality.
Assessing the Existing Doorknob
Before diving into the replacement process, assess the existing doorknob. Take note of the type of doorknob, the locking mechanism, and any additional features it may have. This assessment will guide you in selecting a suitable replacement and ensure a smooth transition.
Choosing a New Doorknob
Selecting a new doorknob involves considering both functionality and style. Choose a doorknob that complements your home’s overall aesthetic while meeting your specific needs. Whether you opt for a traditional knob, a lever handle, or a smart lock, make sure the new doorknob fits the
