Elegant Queen Anne Chairs Timeless Charm for Your Home
Introducing Queen Anne Chairs: A Timeless Classic
Alright, folks, let’s talk about a piece of furniture that exudes elegance and charm—Queen Anne chairs. These beauties have been gracing homes with their timeless style for centuries, and it’s not hard to see why. From their graceful curves to intricate details, Queen Anne chairs are a true classic that never goes out of style.
The Beauty of Queen Anne Design
Step into a room furnished with Queen Anne chairs, and you’ll immediately notice their graceful and refined design. Characterized by curved legs, cabriole style, and elegant lines, these chairs bring a touch of sophistication to any space. Whether placed in a living room, dining area, or study, they instantly elevate the ambiance with their timeless charm.
A Touch of History in Your Home
Originally popularized during the early 18th century in England, Queen Anne chairs are named after Queen Anne herself. This
Optimize Comfort: Installing a New Thermostat Made Easy

Optimize Comfort: A Guide to Installing a New Thermostat
Upgrading your thermostat may seem like a small change, but it can significantly impact your home’s comfort and energy efficiency. Whether you’re replacing an outdated model or embracing smart technology, installing a new thermostat is a straightforward process that brings numerous benefits to your living space.
1. The Need for an Upgrade
Before delving into the installation process, it’s essential to understand why upgrading your thermostat is a wise decision. Older models may lack advanced features and energy-saving capabilities. A new thermostat can provide precise temperature control, helping you create a comfortable environment while reducing energy consumption.
2. Selecting the Right Thermostat
Choosing the right thermostat for your needs is crucial. Traditional, programmable, and smart thermostats offer different levels of control and automation. Evaluate your lifestyle and preferences to determine which type suits you best. Smart thermostats, in particular, provide remote
Soft Water Bliss: Essential Tips for Water Softener Maintenance

Introduction: Preserving the Benefits of Soft Water
Maintaining a water softener is crucial to ensure it continues providing the benefits of soft water, such as preventing limescale buildup and enhancing the efficiency of appliances. In this comprehensive guide, we’ll walk you through essential tips for water softener maintenance to keep your system running smoothly.
Understanding How Water Softeners Work
Ion Exchange Process
Water softeners operate on the principle of ion exchange, where calcium and magnesium ions, responsible for water hardness, are replaced with sodium ions. This process occurs in a resin tank filled with resin beads. Understanding this mechanism is key to recognizing the maintenance needs of your water softener.
Salt Reservoir and Regeneration
Most water softeners use salt in the regeneration process. The salt reservoir is a critical component, and regular maintenance ensures the efficient regeneration of resin beads. Familiarize yourself with the regeneration cycle in your system’s manual
Fix Your Drip: Repairing a Leaky Faucet

Fix Your Drip: A Comprehensive Guide to Repairing a Leaky Faucet
Leaky faucets are not only annoying but can also waste a significant amount of water over time. In this detailed guide, we’ll walk you through the steps of fixing a leaky faucet, helping you save water, reduce utility bills, and regain peace in your home.
Understanding Faucet Types: Identifying the Culprit
Before starting the repair process, it’s essential to understand the type of faucet you have. Common types include compression, ball, cartridge, and ceramic disk faucets. Each has a unique structure, and understanding the type helps in pinpointing the cause of the leak and determining the appropriate repair method.
Gathering Tools and Materials: Preparation is Key
Preparation is crucial when fixing a leaky faucet. Gather the necessary tools and materials, including an adjustable wrench, screwdrivers, pliers, plumber’s tape, and replacement parts specific to your faucet type. Having everything ready
Sparkling Kitchen: Master the Art of Stovetop Cleaning

Introduction: The Key to a Pristine Kitchen
A sparkling stovetop is the heart of a clean and organized kitchen. In this comprehensive guide, we’ll share expert tips on mastering the art of stovetop cleaning. From routine maintenance to tackling stubborn stains, these strategies will have your stovetop gleaming in no time.
Daily Maintenance: A Quick and Easy Routine
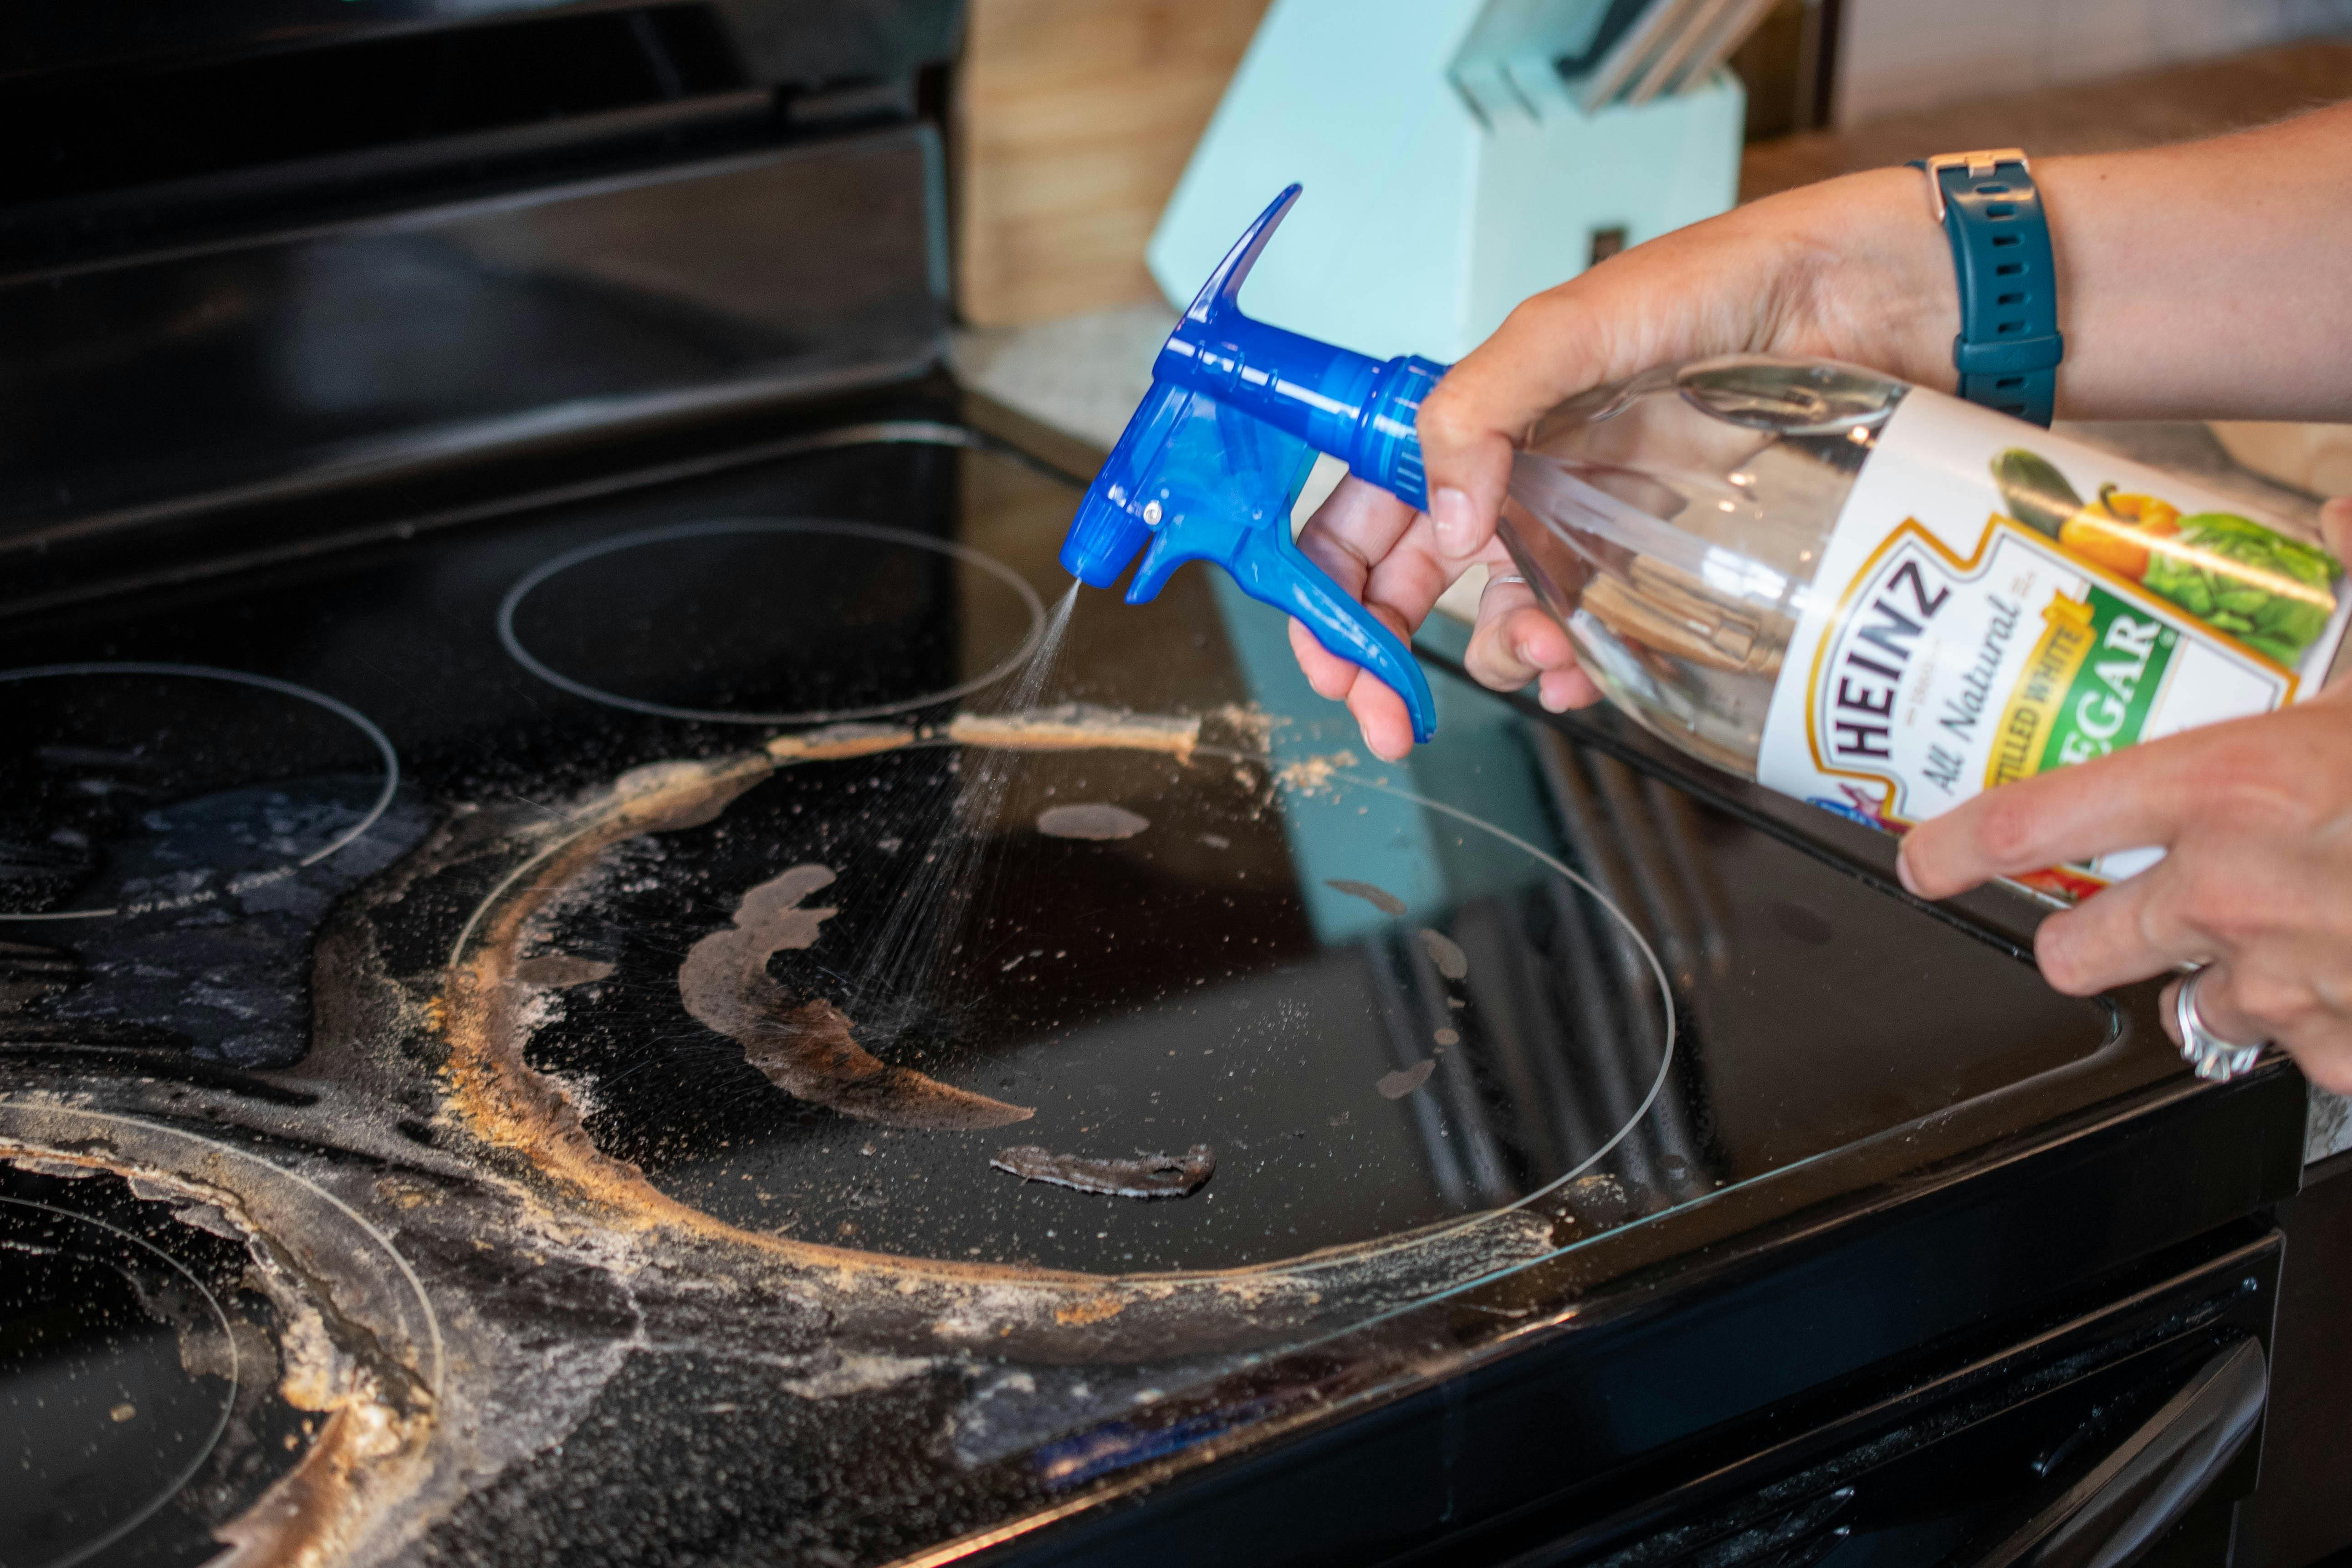
Start with daily maintenance to prevent grease and spills from becoming stubborn stains. After each use, wipe down the stovetop with a damp cloth or sponge to remove any lingering residue. This simple step ensures that your stovetop stays in good condition and reduces the need for more intensive cleaning sessions.
Choosing the Right Cleaning Products: Tailored Solutions
When it comes to stovetop cleaning, the right products make all the difference. For everyday cleaning, a mixture of warm water and dish soap is often sufficient. However, for tougher stains and grease buildup,

