Revitalize Your Home: A Guide to Upgrading with a Door Sweep Replacement
Enhancing the energy efficiency and comfort of your home often involves small yet impactful improvements. One such upgrade is replacing the door sweep. In this comprehensive guide, we’ll walk you through the steps of replacing a door sweep, offering insights into the benefits and the simple DIY process.
Understanding the Door Sweep: What is it and Why Replace?
Before delving into the replacement process, it’s essential to understand the role of a door sweep. This thin strip, typically made of rubber or other weather-resistant materials, is installed at the bottom of exterior doors. Its primary purpose is to create a seal, preventing drafts, moisture, and pests from entering your home. Over time, door sweeps may wear out, leading to reduced effectiveness and potential energy loss.
Signs it’s Time for Replacement: Assessing Wear and Tear
Several indicators suggest it’s time to replace your door sweep. Visual inspection is a crucial step. If you notice visible wear, tears, or deformities in the sweep material, it’s a clear sign of deterioration. Another common signal is an increase in drafts or a noticeable temperature difference near the door. If your door sweep is showing these signs, it’s time to consider a replacement.
Choosing the Right Door Sweep: Materials and Styles
When replacing a door sweep, selecting the right material and style is crucial. Common materials include rubber, vinyl, or a combination of both. Choose a sweep that complements your door type and provides effective sealing against drafts. Additionally, consider the style of the sweep – whether it’s a simple flat design or a more elaborate one with fins for added insulation.
Measuring and Preparing: Ensuring a Perfect Fit
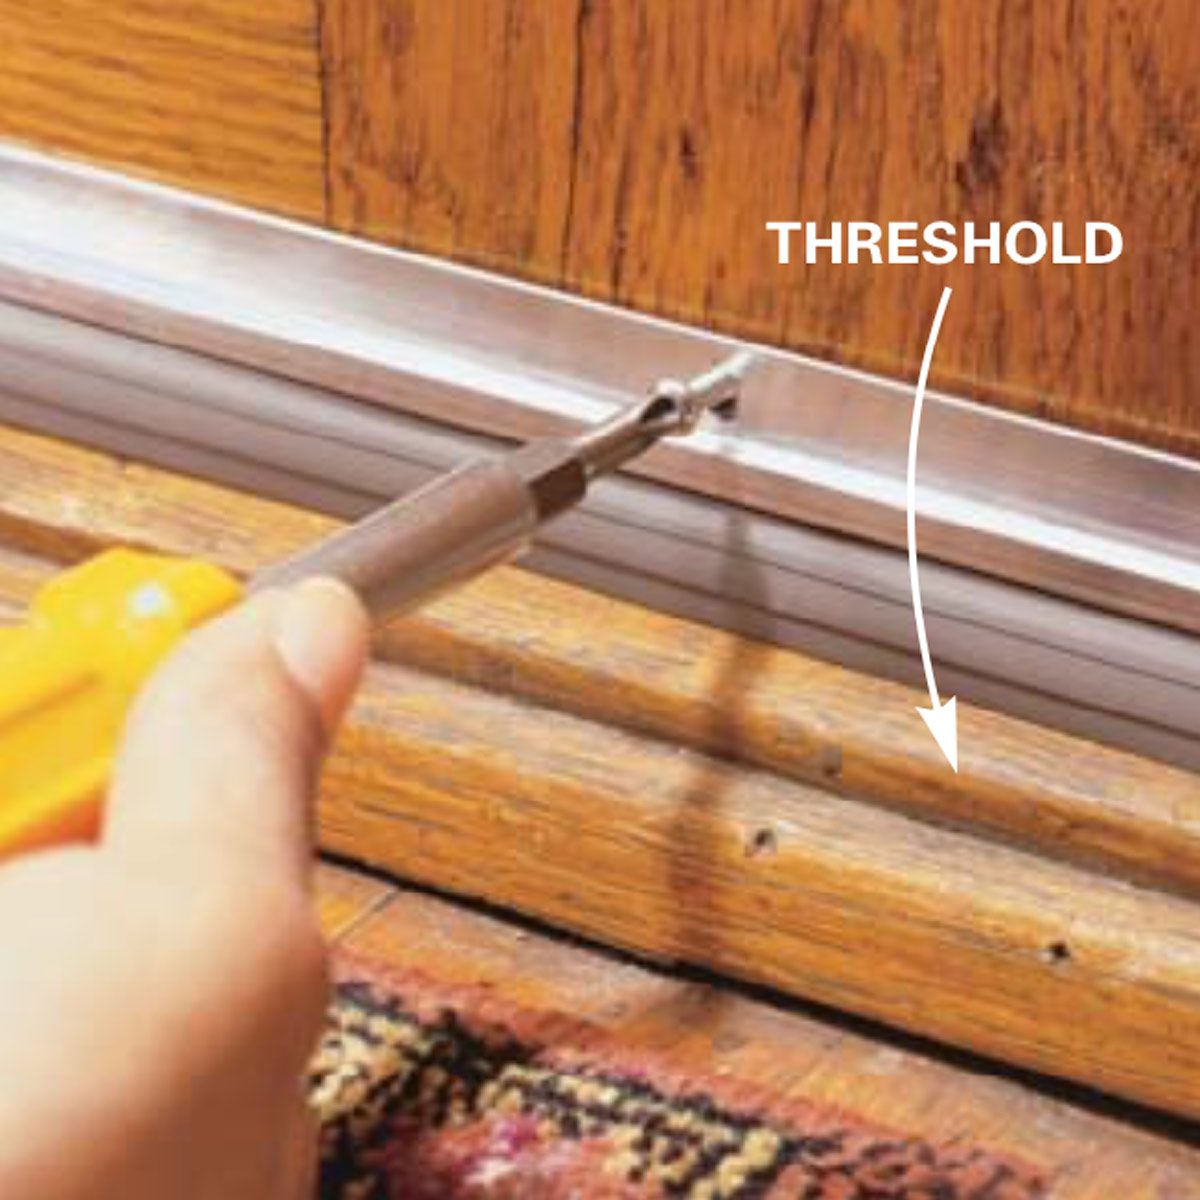
Proper measurements are essential for a successful door sweep replacement. Begin by measuring the width of the door to determine the correct size. Remove the existing sweep, usually held in place with screws, and clean the door bottom thoroughly. This preparation ensures a smooth installation process and allows the new door sweep to function optimally.
Installation Process: Step-by-Step Guide
Installing a new door sweep is a straightforward process that can be accomplished with basic tools. Lay the new sweep flat to relax any bends from packaging. Position it at the bottom of the door, ensuring it covers the entire width. Mark the screw holes, drill pilot holes if necessary, and secure the sweep in place using screws. Adjust the sweep to ensure a snug fit.
Benefits of Door Sweep Replacement: Energy Efficiency and Comfort
The advantages of replacing a door sweep extend beyond aesthetics. A well-sealed door prevents drafts, leading to increased energy efficiency and lower utility bills. Additionally, it enhances the overall comfort of your home by maintaining a consistent temperature indoors and preventing unwanted outdoor elements from entering.
Routine Maintenance: Extending the Lifespan
To maximize the lifespan of your new door sweep, incorporate it into your routine maintenance. Regularly inspect for signs of wear, clean the sweep, and ensure it remains securely in place. Promptly address any issues to prevent potential damage to the door or the seal.
Enhancing Home Comfort: The Final Touch
As you complete the door sweep replacement, take a moment to appreciate the enhanced comfort it brings to your home. Not only does it contribute to energy efficiency, but it also adds a finishing touch to your entryway. A well-sealed door is a small investment that pays off in both savings and increased comfort.
DIY Tips and Resources: Explore DesigningTemptation.com
For more DIY tips and resources on home improvements, including door sweep replacement, explore DesigningTemptation.com. The website offers expert insights, step-by-step guides, and a wealth of information to help you enhance your living spaces with ease.
Conclusion: A Simple Upgrade with Significant Impact
Replacing a door sweep is a simple yet impactful home improvement project. It not only enhances energy efficiency but also contributes to the overall comfort of your living spaces. With the right materials, proper measurements, and a straightforward installation process, this DIY upgrade is accessible to homeowners of all skill levels. Consider it as a small step with a significant impact on your home’s efficiency and comfort.
